Saturday 6 December 2014

Ever green Christmas...

...And a DIY moss star!!

Bringing evergreens into our homes for Christmas is a tradition that stems back from ancient times...Of course we have the Christmas tree (See my post here to learn a little bit about the history of the Christmas tree), but there are also other greenery that have a history that connects to this seasons holidays...In fact all plants that stayed green throughout the year, like Holly, Mistletoe and Evergreen  was attributed powers against the dark magic of winter, and therefore was brought indoors during the winter celebrations.

I love that this is something we continue to do in modern times, as bringing some greenery in to your decor not only looks pretty, but also lifts the interiors and energizes any room...

So gone are my palms and succulents... And in the last couple of days, I have added an array of more seasonal appropriate plants to my Advent decor: Some more traditional than others. I've also got a bit creative with some of my arrangements and display's, and you will find a mini tutorial at the bottom of this post on how to create a star-shaped moss wreath!

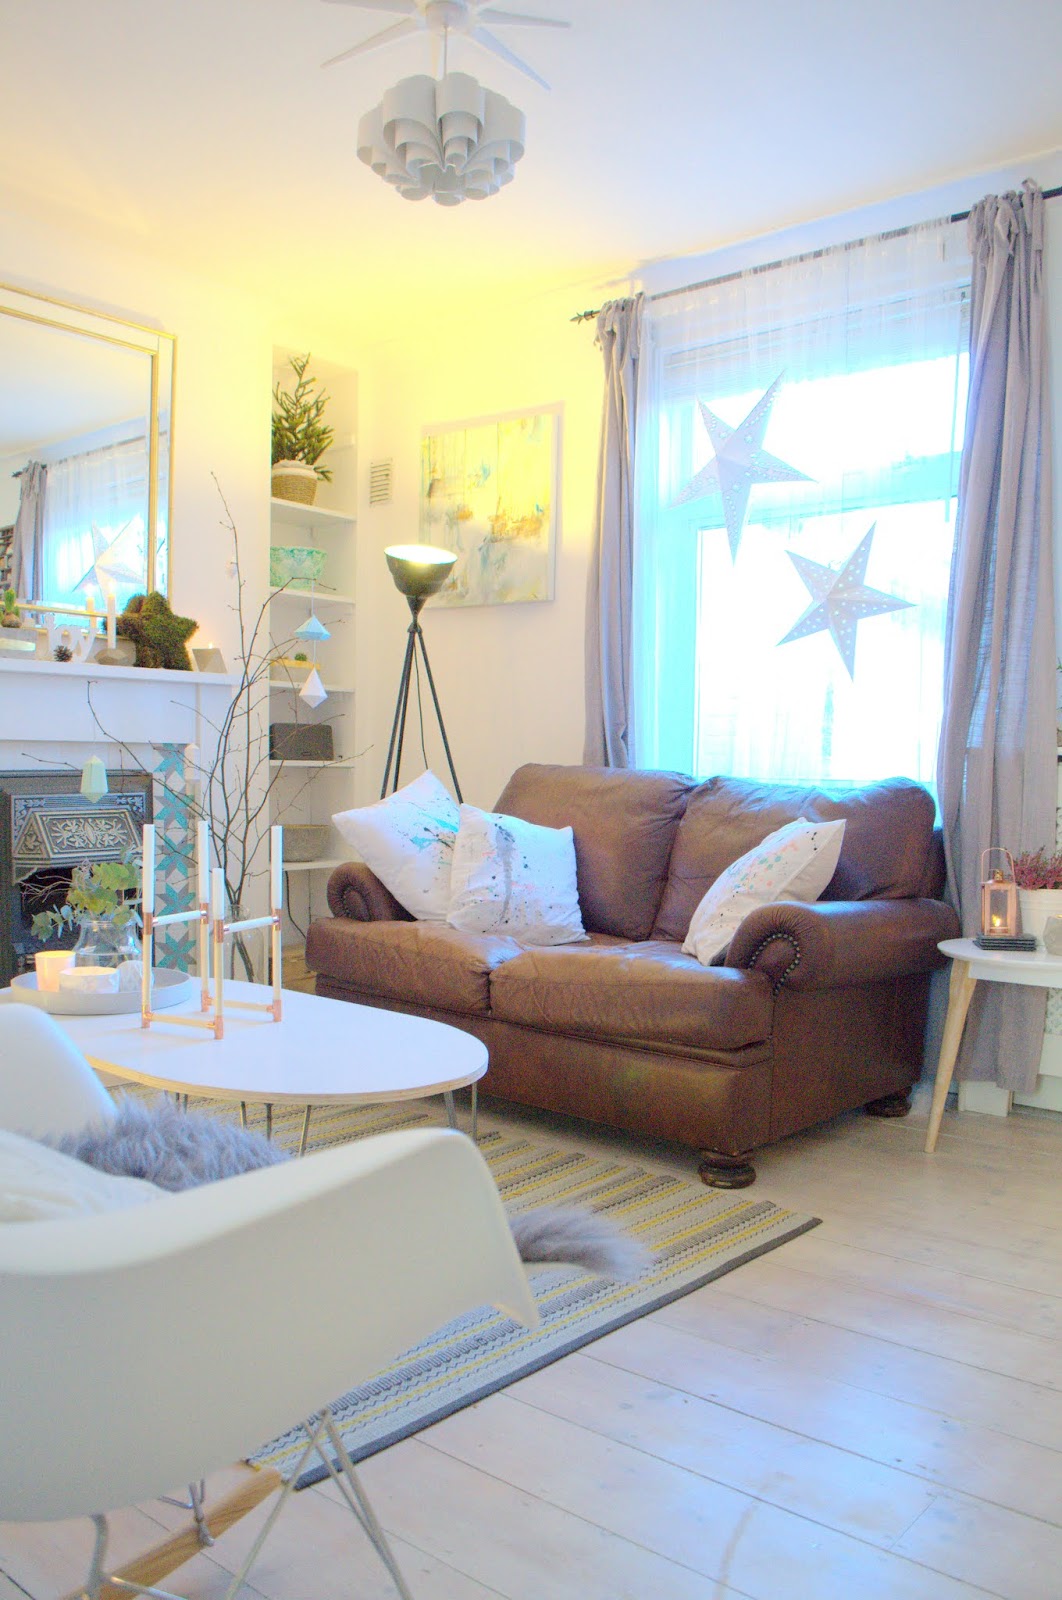
Here's a few pictures from my living room, showing how I've used greenery to decorate for Christmas:


Hyacinths and Amaryllis (Hippeastrum) are amongst other bulbs (like Paper white) that are easy to grow and can be "forced" to bloom just in time for Christmas, making them a perfect choice for advent...like a little calendar waiting to bloom!!

I am no expert on plants, so for more detailed information on "forcing" the bulbs to grow by Christmas, please read the Royal horticultural Society's guide to Bulbs for Christmas flowering...

They can thrive in almost any receptacle of choice, and the main rule is to not over water them...They prefer well drained soil or bulb fibre (available at your local garden centre), You can even place the bulbs in vases, with just the bottom of the bulb touching the water...
I've placed mine in my DIY concrete planter, I originally made to keep succulents in,

I love the way the bulbs stick out of the soil, with the green leaves and buds bursting though the bulb..


My decoration style for Christmas this year is quite simple, and adding some green plants into the mix, has really lifted the look of my living room...


It's all in the simple details, like a few twigs of fragrant Eucalyptus in a wide glass vase on the coffee table...


...And in a tall vase on my bookshelf...


....Some mistletoe in a cloche ...


...makes for an unusual and simple, but pretty display!


The little touches of nature gives the room some life...


Using fragrant plants and herbs like Eucalyptus and Rosemary, also subtly scents your home for the holidays...


I made this simple wreath using sprigs of rosemary and wired them onto an old wire coat hanger, that I bent into a round shape...


Hung near the radiator in the hallway, it releases its lovely scent throughout the day...
(See how I made the concrete stars pictured above here )


Even an nontraditional Olive tree adds to the herb-y scent filling the room, and its silvery green leafs does not look out of place for the season...


Of course a twig of evergreen fir has also been invited in to set the mood for Christmas before the arrival of the tree...


Simply displayed in an old Norwegian jam jar...


And a bit of heather, that has managed to survive the autumn with us , is also allowed to party on with all the evergreens this festive season...


As is a few naked tree branches, decorated with the paper gems I made for Little miss moo's Advent calendar...As she unpacks her daily treat from the paper gems, they get refolded, then hung here....until the Christmas tree arrives!!


Lastly, and continuing on my obsession for stars in this years seasonal decor, I made this star-shaped moss wreath:


Unusual, and lovely....makes a statement on my mantle ...

Here's a quick "how to":

You will need:

Star template (See my post here how to easily make one)
Moss (Go foraging in your own garden, or buy from your local florist)
Florist foam
Wire
Scissors/ cutters
Sharp knife

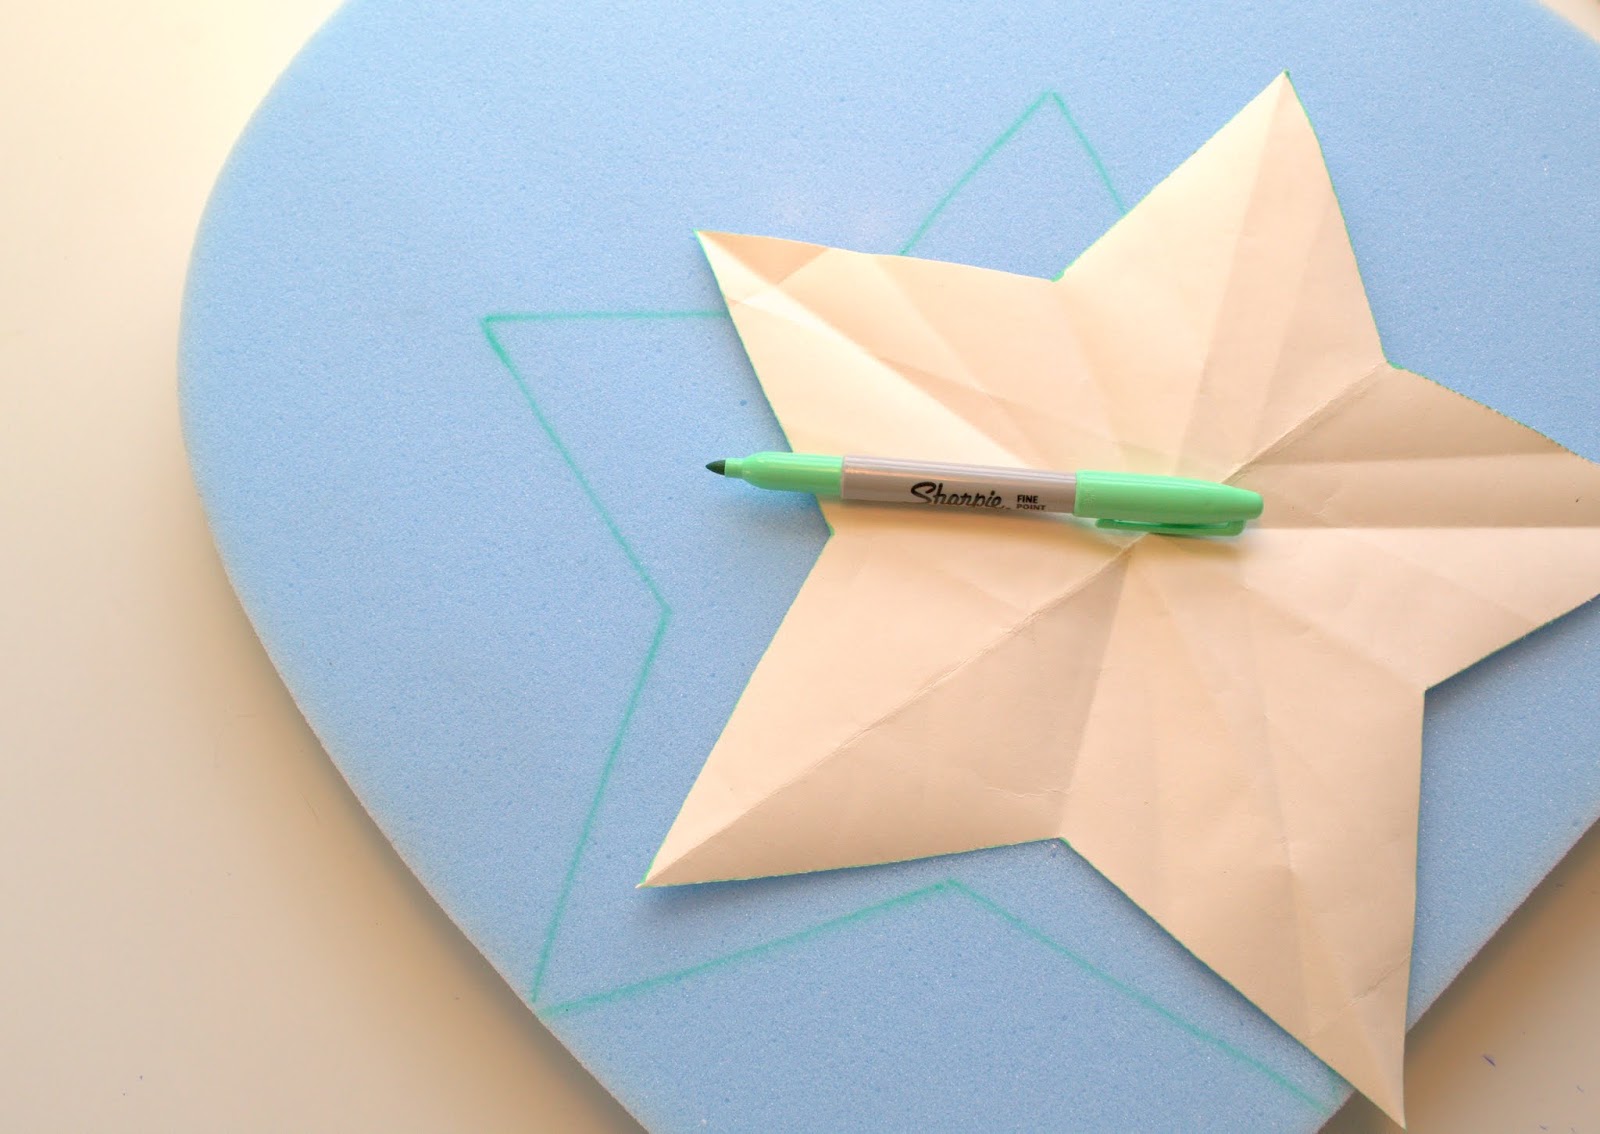
Draw up your star template onto the florist foam (You may have to wire 2 pieces of foam together to get the right size) Cut out the star shape. Drape the moss over...Make some u-bends out of the wire, and use to pin and secure the moss into the florist foam...


I hope you all feel inspired to bring some green plants into this years Christmas decor... Tinsel and glam is all very nice, but there is something very classy about decorating with plants...and it doesn't have to be old fashioned....with a little imagination Christmas plants can be just the modern touch your holiday interiors was missing...

This is my contribution to the Norwegian Interior Bloggers competition: Decorating with plants for Christmas..


Next week I'll be working on some DIY tree decorations and I am starting to think about gift wrap!!
So stay tuned people...there's plenty more to come before Christmas!!


Friday 5 December 2014

concrete star...

DIY


In today's post I will, as promised, show you another way to DIY some stars into your advent decorations...
This time in concrete...my favorite material!!
Well actually, this ones a bit of a cheat....and I'm not using concrete, but cement...but all the same : The effect is stunningly rough! Just the way I like it!!

So when I say that this is a bit of a cheat, it's because in this project, there is no need to make a mould to cast in, as we will be using sponge/foam cut to shape to soak up the cement...

Here's how:


You will need:

A 5 point star pattern, see my post 3D folk art stars , where I show you how to make one easily.
Rapid setting cement (I got mine from Wickes)
foam sheet (I got mine from Dunelm Mill, and found it was cheaper to buy a seating pad than a whole sheet)
retractable scalpel (Or a very sharp long bladed knife)
pen
grease proof baking paper
Large container (Large enough to hold the size of your star)
Bucket/bowl (for mixing the cement in)


Step 1:
Make your 5 point star pattern (See my instructions here) in the size you want.

Step 2:
Trace the star pattern onto the foam


Step 3:
Using your retractable blade, carefully cut out the foam star. Take care to make the edges as neat and straight as you can!


Step 4:
Place your foam star in a suitably sized container.


Step 5:
Mix up the cement. Aim for a runny consistency, like double cream.


Step 6:
Pour over the foam star, then squeeze the foam to load it up with the cement mix, turn over and repeat...leave in to soak up the cement for 5 minutes...


Step 7:
Place some grease proof baking paper on the table (or on an old baking tray), then carefully lift the cement soaked foam star on top..


Step 8:
Use the leftover cement mix to smooth over the foam star to cover the sponge texture....as the cement starts to thicken this will be easier...

Leave to set.

Step 9:
When the cement is starting to harden, use a pencil or a knife to score away any excess along the bottom..
You're done!

All you got to do now is leave them , laying flat, in a warm place and wait for the cement to fully cure! This will probably take up to 48 hours!


I am so pleased with how they turned out....and they were so easy to make!!

What do you think?

Tuesday 2 December 2014

DIY paper stars...


Following on from last Saturday's post about the Scandinavian tradition of decorating for advent with stars, I am today sharing a tutorial on how you can make your own 3D paper stars.


The large paper star lanterns are probably THE classic Scandinavian holiday decor!
They look lovely with lights inside hung in the window, as is traditional in Scandinavia, but you can also make a statement and hang 3 or more in clusters on your wall, in a corner or over the dining table...

Here's how I made mine:


All you'll need is some A4 cardstock paper, scissors, high tack glue and a brush (or heavy duty double sided tape)...and some cord for hanging.

I used this simple template designed by the very talented Lova Blavarg for Sweet Paul's website.
You can download the template  here
 To make a 7 point star, you will need to print out the template 7 times.
Then cut out the templates.
TIP! To make folding easier, use a pen or pencil with a ruler to "score" the lines before folding.
Fold along the middle, making sure the plain side (without any lines) is facing out, then fold the flaps.
Apply glue to the outside of the long flaps, and glue two of the templates together to create 1 point of the star...


Repeat until you have 7 points, then start assembling the star...


I found that the best way to do this, was to glue two points together at a time (you will be left with 1 single point) ...then start gluing all these together...
Before you glue the last two point on, use a holepuncher (or a sharp pencil) to create two holes at the base of the points...This is to thread your cord through for hanging, but will also be useful when it comes to closing up your star...especially if you want to insert some battery LED's in there...


You dont have to just make a plain white star....you can of course use colored card: I used black...


Or you can even make a statement with a cut out pattern, then place some LED's in there to light it up!
To make the patterned star with the cutouts, just draw up some shapes on the original template and cut them out as shown below...or you can download my pattern here for your convenience: Just save to your computer then print...

Once you've cut out your pattern with a scalpel/scissors as shown above, follow the same steps as before to assemble your star.


I am so pleased with how these turned out, and I love how they look in my front room!!
(Especially next to my new Andy warhol quote prints...an early Christmas present from mamma and Pappa...TUSEN TAKK!!:))
So simple and stylish...I may keep them out even after Christmas...??
What do you think??

"