Saturday, 1 November 2014

Water colour splat cushions...

...DIY


I probably don't need to tell you that changing up your soft furnishings is one of the easiest and cheapest way to update the decor of any room in your home...New curtains, throws and cushions is a great way to change up your colour scheme without too much effort, and those finishing touches can really make a room come together!

But instead of searching for that perfect cushion in home ware stores, it is even cheaper to make your own cushion covers and simply recover the cushions you already have.
You can of course find some lovely fabrics and sew up some new ones to fit in with your decor, but by the time I came to putting these finishing details in my new look living room, money was too short, even for this...so I came up with another solution:

My old white linen tablecloths was obsolete since I got my new kitchen table (See my kitchen makeover here)...so I decided to re-purpose the material and make some new cushion covers out of them!

But I wanted to create some kind of pattern on the plain fabric, as I had been told off by little miss moo for "painting everything white" (...and my 5 year old did have a point: white walls and whitewashed floors: A little subtle colour injection was definitely needed). Previously I have made cushions with monochrome geometric patterns, which was nice, but this time I wanted a "splash of colour"....which gave me an idea...


Using Dylon fabric paints (that I already had), I decided to create a splattered pattern on the linen, much like in the Nostalgiecat logo...


I mixed up some colours I liked the look of,then watered down the fabric paints...


Then I simply splatted on the paint with some paint brushes...


I experimented with different methods of splashing on the paint....and had great fun doing it!


When I was satisfied that I had some interesting patterns on the fabrics, I left the paint to dry...this took a bit longer than when I usually use fabric paint because the paints were watered down and the splodges were quite wet.


I then ironed the painted fabric to set the paint. According to the instructions of the fabric paints I used, it is important to have a cloth(I used an old tea-towel) between the iron and the painted fabric.

I then sewed the pillowcases together ( I am a self-confessed sewing-phobe, and if you are too, you could always purchase some plain ready-made cushion covers, and splat these....but as this was all about using what I already had to save money, I grit my teeth and wrestled with the sewing machine whilst filling the air with explicits....good thing little miss moo was at school!! LOL)
....anyway...they turned out rather nice:


Don't you think?


The result is a rather abstract and subtle colour injection....


...in my otherwise new white interior living room!


And to think I didn't pay a penny for them, fills me with a good sense of achievement...and nobody will ever have the same ones....not even you, should you want to try this for yourself!!


Wednesday, 29 October 2014

textured Graphic artwork...


...DIY


Today I am sharing the large textured, graphic artwork I made for my new look livingroom!

Using a large piece of ply wood and some wool, I made this big statement piece for the wall behind my sofa: Not only does it add an injection of colour, but also some texture to my otherwise white interiors....

Here's how:


On a large piece of plywood I drew out an asymmetrical grid of rectangles...


Then using my jigsaw, I cut out the shapes in the middle, leaving a frame of ply-wood:
(See my post here for tips on how to best cut plywood)


Then using my leftover balls of wool, in an array of complimentary colours, I simply wound the wool around the ply wood frame:


...Creating patterns of colours as I went...
Tip! Do mix up the density and direction of the wool as you go, and work on multiple squares at the time to interweave the colours and patterns.

This is such an easy DIY, but can be time consuming... Have fun, and get creative with your choice of colours and patterns!!

Try to keep it neat on both sides of the plywood, and tie off any loose ends of wool in an inconspicuous place.


It may help to have a little assistance whilst winding the wool around the frame...luckily I had Little Miss moo that eagerly helped me pass the balls of wool to and fro through the frame...Thanks beautiful!!


I love the way this has added a bot more colour and texture to my new look living room, but I realize now, looking at these images, that I will need to look into re-doing my gallery wall when I get back from Norway....
...more on that later , I guess!!


What do you think?

Friday, 24 October 2014

My concrete home accessories....

....Now at An Artful Life


Back in August, when I had the pleasure of meeting Kate Whitfield of An artful Life for the Opening of her pop up shop at the Folly , I had no idea that this meeting would be so fruitful for me...
For now I can proudly announce that my hand casted, gilded concrete bowls and geometric origami candlesticks are officially for sale both in her Online shop and in her associate pop up shops Johnny+Jenny in Saffron Walden and Under Milk Wood in Thaxted, Essex.

So today I'm sharing some of her promotional shots of my products:


My gilded concrete bowls comes in various sizes, from extra small (£15) (above), small (£25), medium (£45) to Large (£60)...
You can choose between  gold or copper flake finish for the insides...


They have a smooth exterior, and a rough interior with a raw concrete edge...


As they are all hand cast, the thickness and finish will vary...


You can also purchase my faceted geometric candle sticks and tea-light votive's through AAL

There are several shapes to choose from, each has been cast out of a hand folded origami paper mould, and each is a one-of-a-kind! They all have a black felt base to prevent damage to your furniture!

The candlesticks and tea-light votives all retail at £15 each


The Diamond paper weights has also been made in this way, and The large size is £15 and the small £8...


I am so happy that I met Kate, and hope these do really well for her (and me...)
Even if concrete is not your thing, please check out her shop, as she has curated some of the best, in my opinion, eclectic home ware ranges out there...

I've said it before, and I'll say it again: If I only had the money!!


Wednesday, 22 October 2014

Living room makeover

reveal!

OK....so, as I am actually blogging from Norway at the moment, where I am having a much needed impromptu break, I have decided to cut a bit back on the planned amount of projects I wanted to do for my living room makeover as I am feeling a little worn out at the moment! So today, I am actually sharing our new and updated living space...a little earlier than planned!

But first, let me remind you all what it used to look like:


About two years ago we painted the previously red walls white, which opened up the space a lot, but because the living room is at the back of the house with only one window, it still felt quite dark....
not helped by the knackered yellowing pine floor boards...
I also absolutely hated the quasi-Victorian 8o's fire surround!

We did have grand plans about installing a wood burner in place of the dated fireplace and to get new laminate flooring installed earlier this year, but it has been a tough year for us, and we had to abandon those plans...


Another thing I really wanted , was a new sofa, but again, this was out of reach for us this year....But determined to make the best of the space we've got, I have worked hard to make some cheap improvements:


The biggest improvement to the look and feel of the room was created when I white washed the wooden floor boards! This has really lightened up the space and made it a lot fresher:


The other big improvement I did, was to give the old fireplace a makeover:


It now suits my interior taste, and has that fresh Scandinavian look that I love with my DIY stencil design (that was inspired by my gran and granddad in Norway's old kitchen tiles...)


If you look at the reflection in the mirror in the picture above, you will also notice that I've added one of my DIY starburst ceiling rose's around the ceiling light (like the one in our bedroom )...


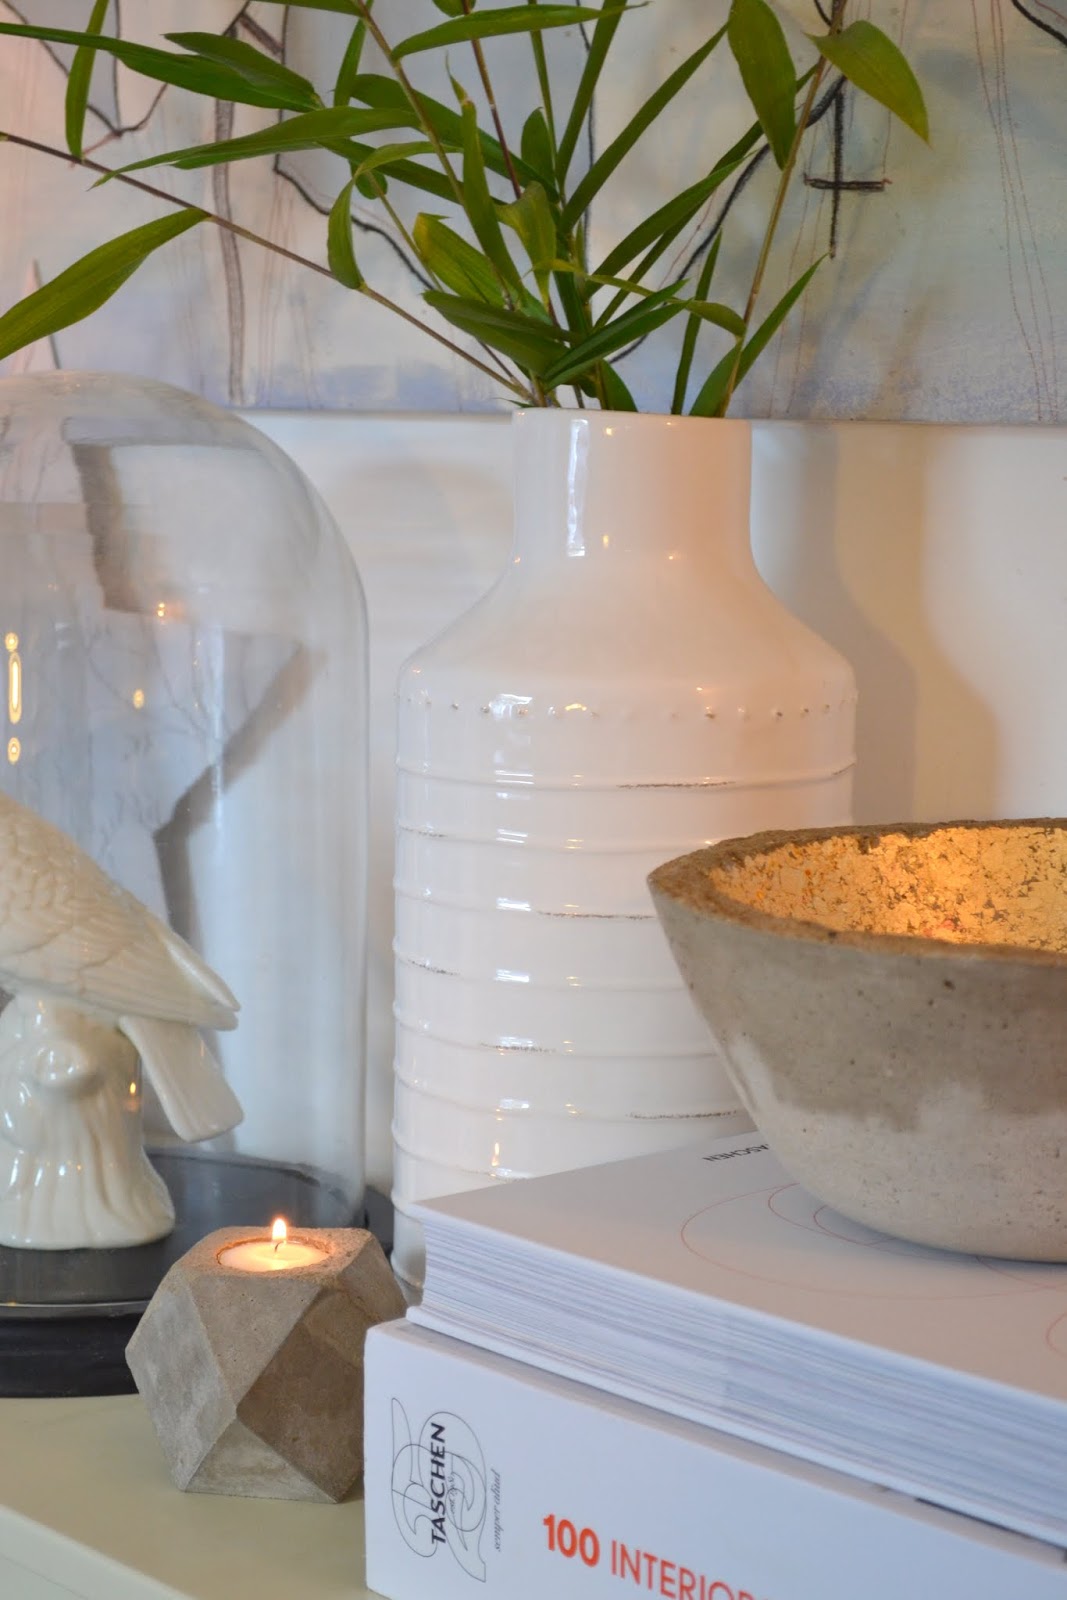
And purging my decorative items, and carefully choosing what got to stay, has also helped creating a fresh look in the room:


My DIY concrete and gold planter has been updated with some cactus'...


And I showed you the other week how easy it is to make the marbled vase and tea light votive ,above...


I also love my new DIY Mid century Modern style coffee table that has replaced my old tufted ottoman. And the old sofa has had a cosy , but simple update in form of a grey sheepskin (Tesco), a new throw and some new "water-colour" DIY cushions (The tutorial on these is coming soon)


Sometimes, just tidying up a bit and maybe, as mentioned above, purging and carefully selecting which items to display can have a huge impact on the look of a room. Which is exactly what happened when I decided to style the bookcase.


It is all in the detail...
...like introducing more plants and greenery into the room (bless them, for I have a black thumb!!) which has added a freshness to the space...


The "I will survive" planter, is a DIY stencil I shared with you all here...
And some old projects, like the concrete lampshade, and concrete stool now has a new lease of life in my fresh new space! You can also learn how I made the Geometric and Ampersand artwork here!


And of course the other old sofa got a new DIY sofa cover, with the addition of some new, matching squishy cushions, making it not only more stylish, but also a whole lot comfier...


And finally having a little side table next to it means no more tripping over drinks on the floor...I love this little bargain buy from Tesco!
I will be sharing the big textured geometric artwork in my next DIY post!
But first I have some exciting news I'd like to share: Post to follow later in the week!!

What do you all think of my new look living room?
I've spent less than £200 to get it from the before to the after: and that includes the floor, the fireplace and all the other little projects + any new items, such as the side table...
Not bad, hey?
I hope that even if it's not to your exact taste, it shows you how you can transform a space...even when working on a very tight budget!

"