Friday, 12 June 2015

Win an Eames ESW style chair!

Competition!
Image via so much more than


I am happy to announce that in collaboration with the wonderful people over at Chair furniture, I am today hosting a giveaway of one of the most iconic chairs of our times:
The Eames ESW chair!
Details of how to enter this competition  further down the post!

Image from houtmerk

Originally designed by Charles and Ray Eames',the ESW chair, along with their DAW Chair revolutionized furniture in the 1950s with its unique style and grace. Taking advantage of  the development of new technologies and materials developed during World war 2, and The Eames' pioneered  the use of plywood and fibreglass in furniture design, and the DAW was one of the first  industrially produced plastic chairs in the world.
 The seat follows the shape of the body to make it more comfortable and the wooden legs are strengthened with steel. Elegant, comfortable and strong,this chair has over the years won a place among the most iconic pieces of furniture created in modern times!

Image from only deco love

It is even so famous that there has been made posters of it!!
Head to Only Deco Love to download the printable poster, pictured above for FREE!
Image from Pinterest


The continued popularity of mid Century modern design, is a testament to the quality and creative thinking behind the 1950's movement that the Eames's was spear heading.

And along with designs from their peers, such as Arne Jacobsen, Hans Wegner and Jean Prouve, the Eames plastic chairs are now firmly placed in hall of fame of modern design...

Now A staple in most Scandinavian interiors, the timeless design fits in any settings...
Image from S F girl by bay
In offices and creative workshops....Seen here, above, in the earlier offices of S F Girl by Bay's creative studio, in colored fiberglass with Eiffel style steel legs....

Image from The Urbnite

Or here in a black shell with wooden, steel reinforced legs....


In a more oldy-worldy setting around an antique dining table....they don't look out of place, but adds another dimension to the interior by juxtaposing with the rest of the decor...

Image from nordic days

Or in more modern and stark surroundings, in it's most classic, plain white option, above.
Image Via My Paradissi

UK based company Chair furniture specializes in quality replicas of iconic furniture, like the ESW, for a fraction of the prize of an original.....

 
....making iconic design affordable to the general public, and not just the wealthy elite....
Building on the ethos of the original design movement of the Eames' and their peers, to make great design accessible for all....


Chair Furniture stocks these iconic chairs in a wide variety of colors and finishes...


And all you have to do to win one is,
 like their Facebook page
then visit their site and choose your favorite chair...
Then comment on their Facebook page, or mine, or below, on this blogpost which chair you would like to win...


This competition is open to anyone living in Europe, except Switzerland (Sorry;) and will be running for 3 weeks. The winner will be dawn at random and announced on the 3rd July here at Nostalgiecat.

Image from Design o form

So, just to recap those competition rules:  
To get your hands on a piece of iconic design for your home, head over to the Chair furniture facebook page, click like and leave a comment mentioning your favorite chair from their website, either there or below here on this blogpost....

Good luck!



Ps!
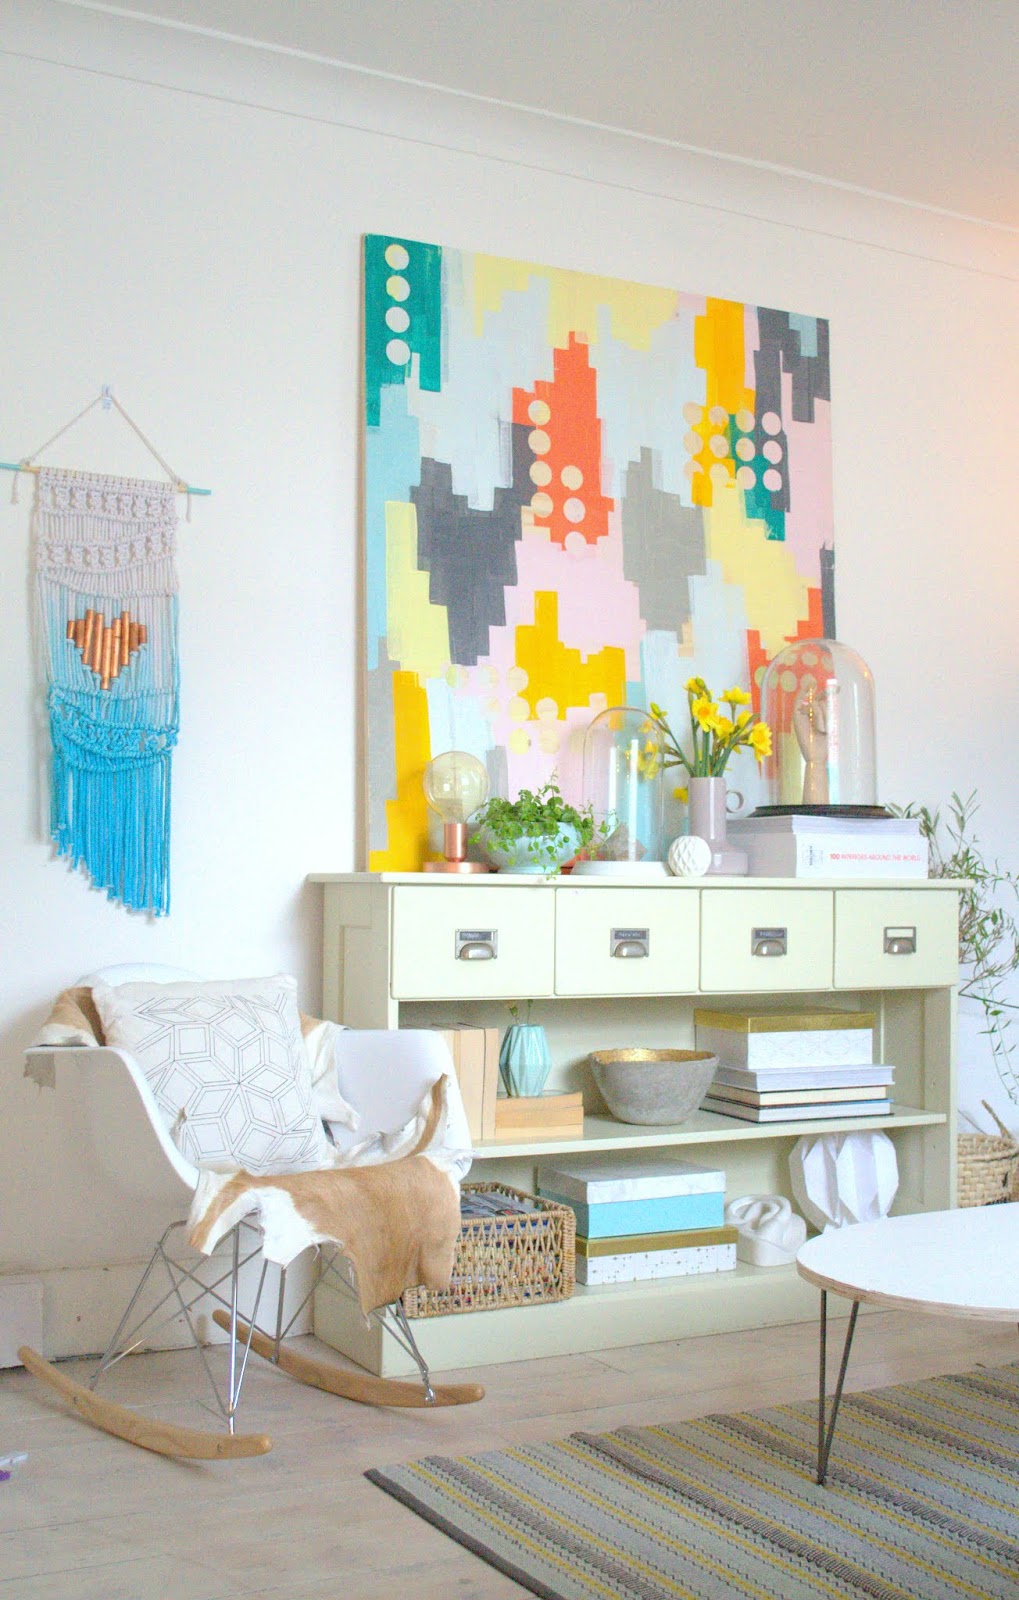
You can read more about the Eames' revolutionary designs here and in my post about the Eames RAR rocker....and if you are unsure of acquiring a replica of a design classic as opposed to the real thing, you may find this post by my blogger friend Kimberley Duran interesting!

Wednesday, 10 June 2015

DIY poster hanger


In my last post I sowed you how you can make your own graphic poster for your walls...
...today I am sharing how I made the simple wooden poster frames!
These types of "clamp on" poster frames are really practical if you like to change out your art frequently, and they also take up next to no space when storing.
Save some money and make your own...it's easy!
You will need:
Wooden bead moulding , like this 
3mm brass screws and nuts x6
3mm brass washers x6
Small brass screw eyes x2
Brass chain
Ruler
pencil
 tape
Wood saw
Screw driver
A drill and drill bits (3mm and 7/8mm...or however big your screws and nuts are)
Araldite glue or other super-strong adhesive
Fine grit sandpaper
HERE'S HOW:
Cut the wooden beading to size. You'll need two lengths at the top AND bottom of your poster, so 4 equal lengths all together.
Pair up the lengths and tape them tightly together.
One pair for the top, and one pair for the bottom of your poster frame.

Use the ruler and pencil to mark out 6 equally spaced points on each pair of the wooden beading's.
Use the smallest drill bit to drill through on each spot.
By pairing up the beading and taping together before drilling, you ensure the holes will match up on the wood.


Undo the tape and separate the beading. Put the top beading to the side for now!

Now use the larger drill bit to make the holes on the bottom beading big enough to countersink the nuts. Take care not to drill all the way through.


Mix up some Araldite, and glue the nuts into the wooden beading.


Then place the top beading on top and screw the two wooden moldings together whilst the glue is still setting.


Repeat this process for the bottom half of your poster frame as well.

Whilst you are waiting for the glue to harden, use the smaller drill-bit to drill a hole on the topside at each end of the top of the "frame", and attach the screw eyes:


Use some fine grit sandpaper to gently remove any pencil marks and small splinters caused by drilling and cutting the wood.


Cut the chain to length and attach to the screw eyes.
Unscrew the frames and place the washers on the front before reassembling the frame onto the poster...


Place the poster between the wooden beading and tighten the screws to secure...


....then hang your poster!


The bottom half of the poster frame will help weigh the poster down , ensuring it will hang straight!


You can find my DIY graphic poster tutorial HERE.


I am not quite done with the art theme around here yet....bu I am going larger than ever with my next project....all shall be revealed soon!
But do pop around on Saturday, as I am hosting a fantastic giveaway....you don't want to miss it!!


IMAGE DESCRIPTION
Please vote for me for best DIY blog

Friday, 5 June 2015

DIY graphic poster


"Art is the most intence mode of individualism the world has known"
-Oscar Wilde-

As part of my recent series of posts exploring how displaying art in your home I am today sharing this tutorial on how to make a graphic poster!

Your choices of art expresses your feelings and tastes more than anything else you'll choose to decorate your home with...it speaks directly to you and anyone visiting your home about who you are: 
From the colors you choose to the shapes and motif in a picture.
And displaying BIG pieces of art shows a confidence ,not only in your style and interior tastes, but also in your own person: It is a statement!!

This year has seen the rise of the poster art:
It is a convenient way to add some of that individualism to your walls: Easy to hang and quick to replace...Perfect for those of you that like to change up your interiors frequently to express your own personal taste evolution.
And making your own art , is a further extension of expressing that confidence....

So today I will show you how you can make your very own poster art, in an easy and affordable way....but still have it look "a million dollars".

Following my own advice on making BIG art, I've gone abstract, but this time in a graphic way.
Inspired by the work of  Kristina Krogh , this Poster art is all about colors and textures....and I have chosen what I liked, but of course you should choose to use what appeals to you! 

This tutorial is meant more as an inspiration, sowing a seed of an idea, to encourage you to express yourself and make something big, bold and personal to fill your walls with.

Here's what I did:


I got some A1 coloured paper, I chose a dark blue, for my poster base.
I also used some cork paper and water colour patterned paper I got on my last visit to Norway from Sostrene Grene, But you can get similar Cork paper from here , and 
for similar watercolour print paper ,visit Design Love Fest to download their free digital watercolour wallpaper, save to your computer and print....Or I will show you how to easily make your own further down the post...

You will also need a ruler, a pencil , scissors and some spray adhesive.


First I drew up a simple (and crude ) plan of how I wanted my poster to look, making note of the measurements of each element!


Then I measured and cut out the shapes for each element:


Then I very faintly marked out with a pencil on my poster base where the different elements was going to go...The best way to do this is to find the center and work your way outwards....


I loosely placed the elements down and reviewed the layout: 

I made some additional faint pencil marks at this point to ensure that the elements would go on straight and symmetrical when I came to gluing them down.


Then I sprayed the back of the elements with spray adhesive and stuck them down in place. (The brass and marble paper were self adhesive, making it a doddle to stick down)
AND that's it!!


I also made this second poster, in the same way, using copper contact paper instead of brass, just to show you how using (ever so slightly) different shapes and colors will vary the expression in your art:


But this time I made my own watercolour pattern:
You will probably remember doing this as a child:

Folding a piece of paper, painting only one side of the fold then closing together to create a symmetrical "butterfly splogde" picture... Use some proper watercolour paper and use lots of water with your paint to get the effect!
Let it fully dry (Iron if too crumpled)

Assemble as before according to your plan.


I love this effect and think it adds a truly personal and artistic look to the poster...


Stay tuned next week for my tutorial on how to DIY the wooden poster hanger!


As I've mentioned before (like, about a million times;) as my daughter would say...) the great thing about making your own art for your home is that it can be truly customized to your tastes....both in shapes, motif ,size and colors....

So what do you think?
Are you ready to get artistic and make some art for your walls?
How do you feel about posters as opposed to canvas?


IMAGE DESCRIPTION
Please vote for me for best DIY blog

Tuesday, 2 June 2015

BIG ART

DIY ideas to try...

Image via Flax and twine
Over the last couple of weeks I've been exploring the benefits of displaying art in your interiors, from the modern gallery wall, through to layering and leaning art and finally the power of big and bold art! There is no doubt that displaying art in your home is the perfect way to inject some personality into your interiors!

The perfect piece of art should be something you love, something that speaks to you, makes you feel something and that represents your tastes...
There is a difference between the sort of art that you'd go to a gallery to see, the sort of thought provoking and intriguing art that can make you feel uneasy and curious....and the art you display in your home: 
Art in your home should be part of your interior in some kind of harmonious way.
It should relate to your surroundings as well as to you, both in size, colors and motif...and in the way you display it!
But of course a little intrigue is always good...

But let's face it: Art can be expensive....especially large scale art!
...and as much as I'd like to curate a collection of beautiful art that I love for my home, unfortunately the moths in my wallet is not considered legit payment in any part of the world, as far as I know...
So when I decided I wanted a big piece of art for my living room, I DIY'd my own:


Although I've studied art, and am probably quite an artistic person, I don't consider my self a painterly artist....and I truly believe that anyone can create a piece of art they will love!


I have 3 tips for anyone feeling less than confident, but want to have a go:
Keep it simple, abstract and go BIG!
...And use colors YOU love!
(Actually that was 4....but who's counting??)

So today I am sharing some tutorials on how to DIY some art for your home from the www. that I love!

They are all simple, easy to adapt to your own tastes and to make....but will look fantastic and add that artistic flair to your home!

You can see how I made the big abstract artwork for my living room, pictured above over at Room Design...it's really easy, I promise!

Image from Bliss at home
Or how about this Black and white abstract painting? Kristin from Bliss at home even got her two sons involved with making this, it's that easy....but striking no?

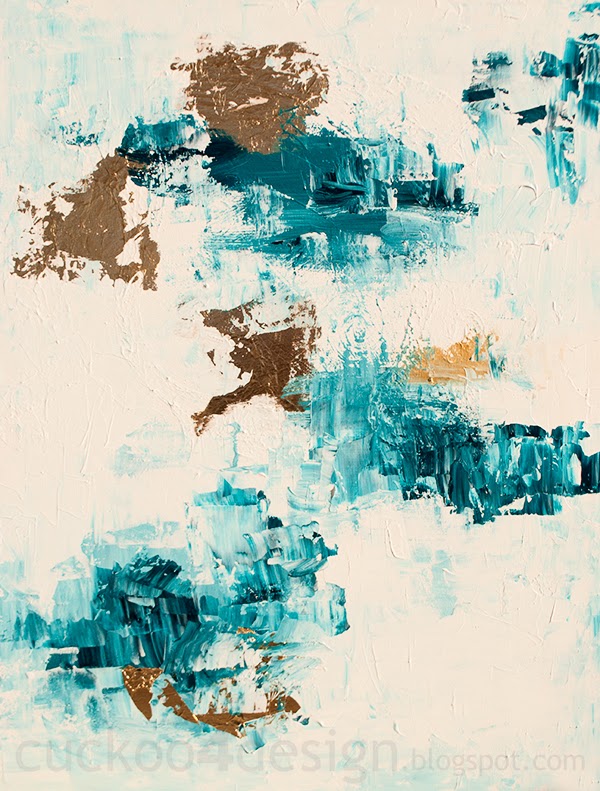
Image from cuckoo 4 design
I love the textures with the gold leaf in this abstract artwork that Julia from Cuckoo 4 design made. The artwork in her tutorial is not that big, but the technique and look lends itself very well to creating a huge statement piece!

Image from making lemonade

Carrie from Making Lemonade simply framed some gorgeous marbled paper to make this art for her walls. You can purchase it here. Marbling is very trendy and stunningly decorative in an abstract way, and why not try to DIY your own?
There are lots of tutorials online on marbeling , using different techniques...I would like to try marbeling some fabric to stretch onto a canvas, or using spray paints, like the fabulously artistic, Alisa Burke did here.
Watch this space;)
Image from Dans le townhouse
It just doesn't get simpler than this....but Tanya from Dans le townhouse has created a very striking piece of art, that can easily be made as huge as you'd like! 


If you are a pattern lover, how about making a wall hanging, using a favorite fabric, or drawing out a pattern on some canvas like I did when I made my tribal wall rug, above.
Image from Alisa Burke
Lastly I just wanted to give another mention to all round creative genius, Alisa Burke.
 Her blog is one of my go-to's when I need some inspiration, and you may find her tips and tricks for painting large useful...it has some great advice on both techniques and material....and some budget busting tricks as well!
Also check out her pinterest page for loads of inspiring and arty tutorials.

So what do you reckon? 
Are you ready to get the paint brushes out and get creative?
Do you feel inspired to inject some truly personal and BIG art in to your interiors?

More than just being a budget friendly option if you'd like to add some BIG art in your home, making it yourself has loads of added benefits:

You can make it to the exact size you want/need, in the exact colors you love, creating a truly custom piece that will fit perfectly in your interior!
And of course, art doesn't get more personal that this:
It doesn't matter if you are following a tutorial on the net, or even hacking a great, but un-affordable piece of art you've seen (Disclaimer: I don't endorse ripping off artists work for commercial gain, but taking inspiration from and making similar art for your own enjoyment is ok ;))....the  expression in your efforts will always be slightly different to your inspiration, and your choice of colors and technique (Or lack of ;)) will add a personal touch to the artwork...
And what a statement to make in your home!!
A big piece of DIY art will definitely wow your guests and be a true conversation starter...
....and who knows: You might just find your new passion: I find it incredibly soothing to play around with paint and colors, and revel in the process!

If you need some more inspiration, please check out my pinterest board ART for loads of inspiring artful pins.
And I will be back this weekend with a tutorial on how to make your very own BIG graphic poster!


"