


You will need:
A 5 point star pattern, see my post 3D folk art stars , where I show you how to make one easily.
Rapid setting cement (I got mine from Wickes)
foam sheet (I got mine from Dunelm Mill, and found it was cheaper to buy a seating pad than a whole sheet)
retractable scalpel (Or a very sharp long bladed knife)
pen
grease proof baking paper
Large container (Large enough to hold the size of your star)
Bucket/bowl (for mixing the cement in)
Step 1:
Make your 5 point star pattern (See my instructions here) in the size you want.
Step 2:
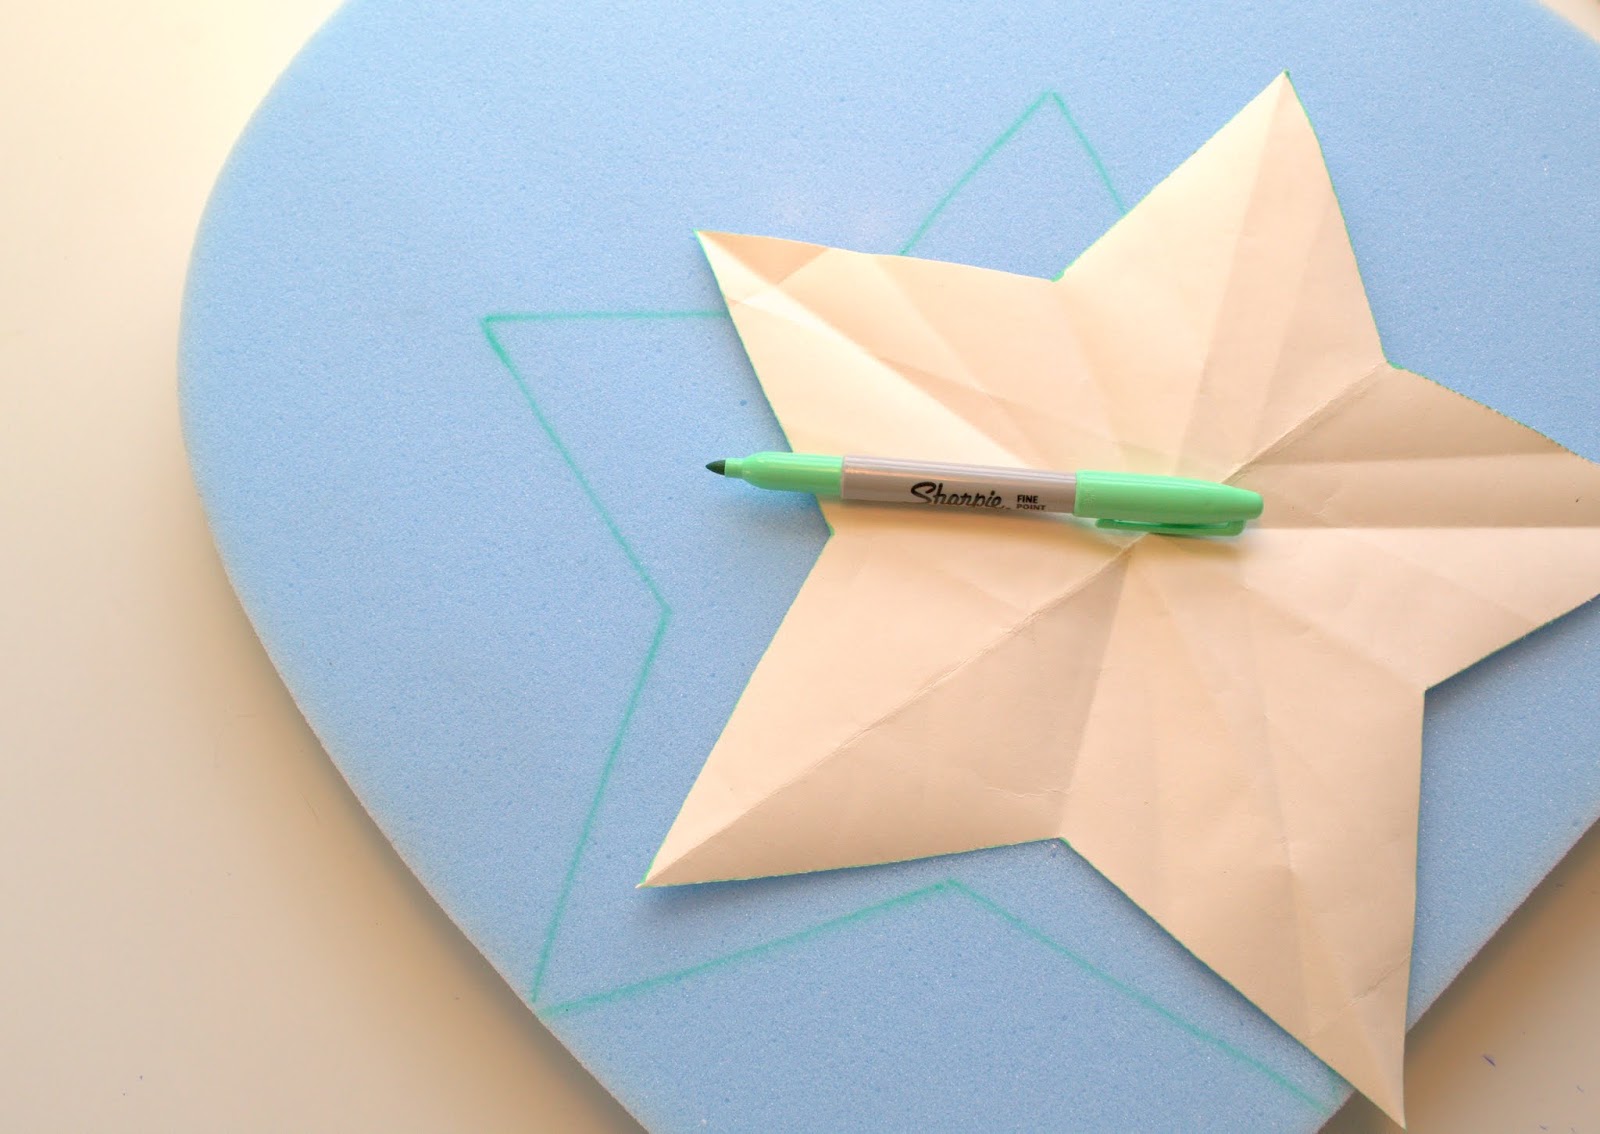
Trace the star pattern onto the foam

Step 3:
Using your retractable blade, carefully cut out the foam star. Take care to make the edges as neat and straight as you can!

Step 4:
Place your foam star in a suitably sized container.

Step 5:
Mix up the cement. Aim for a runny consistency, like double cream.

Step 6:
Pour over the foam star, then squeeze the foam to load it up with the cement mix, turn over and repeat...leave in to soak up the cement for 5 minutes...

Step 7:
Place some grease proof baking paper on the table (or on an old baking tray), then carefully lift the cement soaked foam star on top..

Step 8:
Use the leftover cement mix to smooth over the foam star to cover the sponge texture....as the cement starts to thicken this will be easier...


Step 9:
When the cement is starting to harden, use a pencil or a knife to score away any excess along the bottom..
You're done!
All you got to do now is leave them , laying flat, in a warm place and wait for the cement to fully cure! This will probably take up to 48 hours!


I am so pleased with how they turned out....and they were so easy to make!!
What do you think?

7 comments:
I love this idea. Thanks for sharing½
Jenni! Thanks for stopping by nostalgiecat and taking the time to comment!! Much appreciated!! xx
Hi, can these stars been left outdoors when complete. Thanks. Excellent tutorial
Nice Post!!! insightful and helpful. Thanks alot, for sharing the post...... Concrete Solutions
Is your floor surface cracked or broken? the solution Epoxy Beton
Great blog you have herre
Want to enjoy luxurious skincare without spending too much? Look for 111Skin coupons and get yourself some of the best skincare products at a reduced price. 111Skin is a brand that is known for its innovative and high-performance skincare solutions, which include a variety of products that are meant to rejuvenate and improve skin health. With 111skin coupon, you can get amazing deals like discounts on certain items, exclusive offers or even free gifts when you buy something. These coupons are a great way to invest in high-end skincare formulations such as serums, masks, moisturizers etc., which are designed to address different skin issues.
Post a Comment