Saturday 18 May 2013

"Lino" printing artwork....on the cheap!


I told you this has been a busy week here at nostalgiecat...
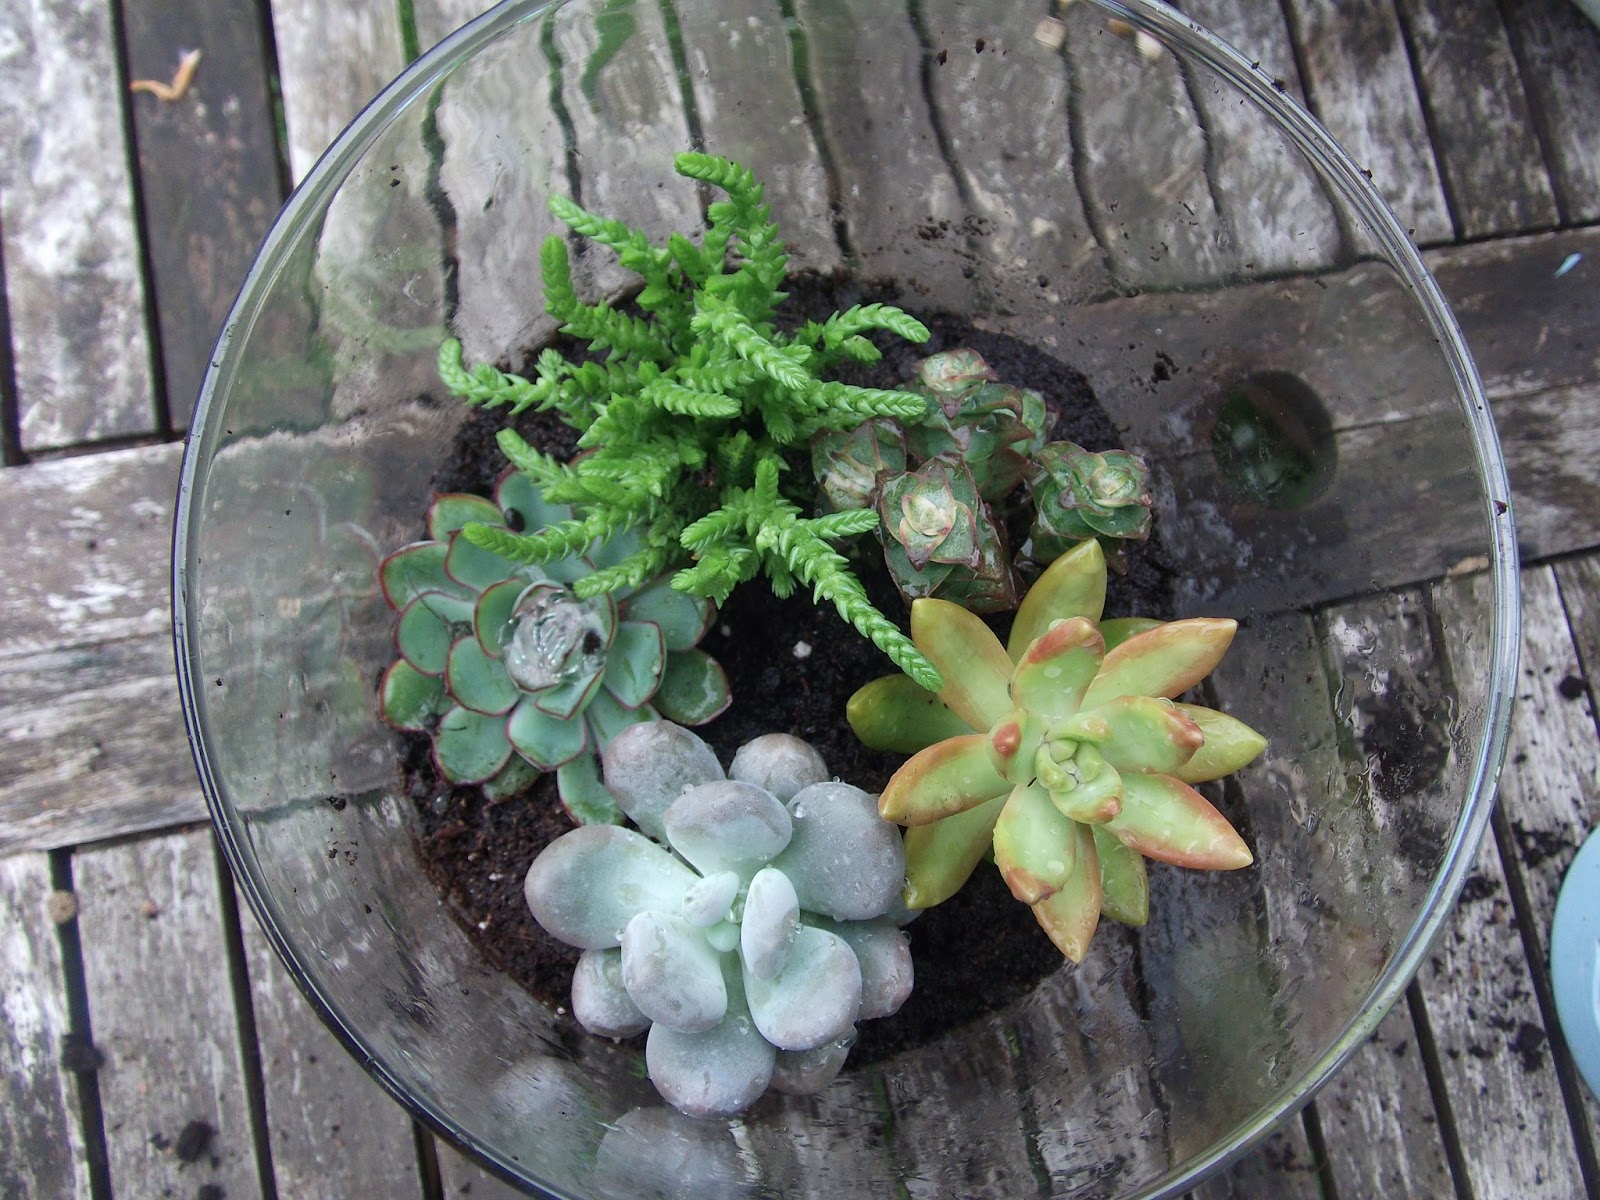
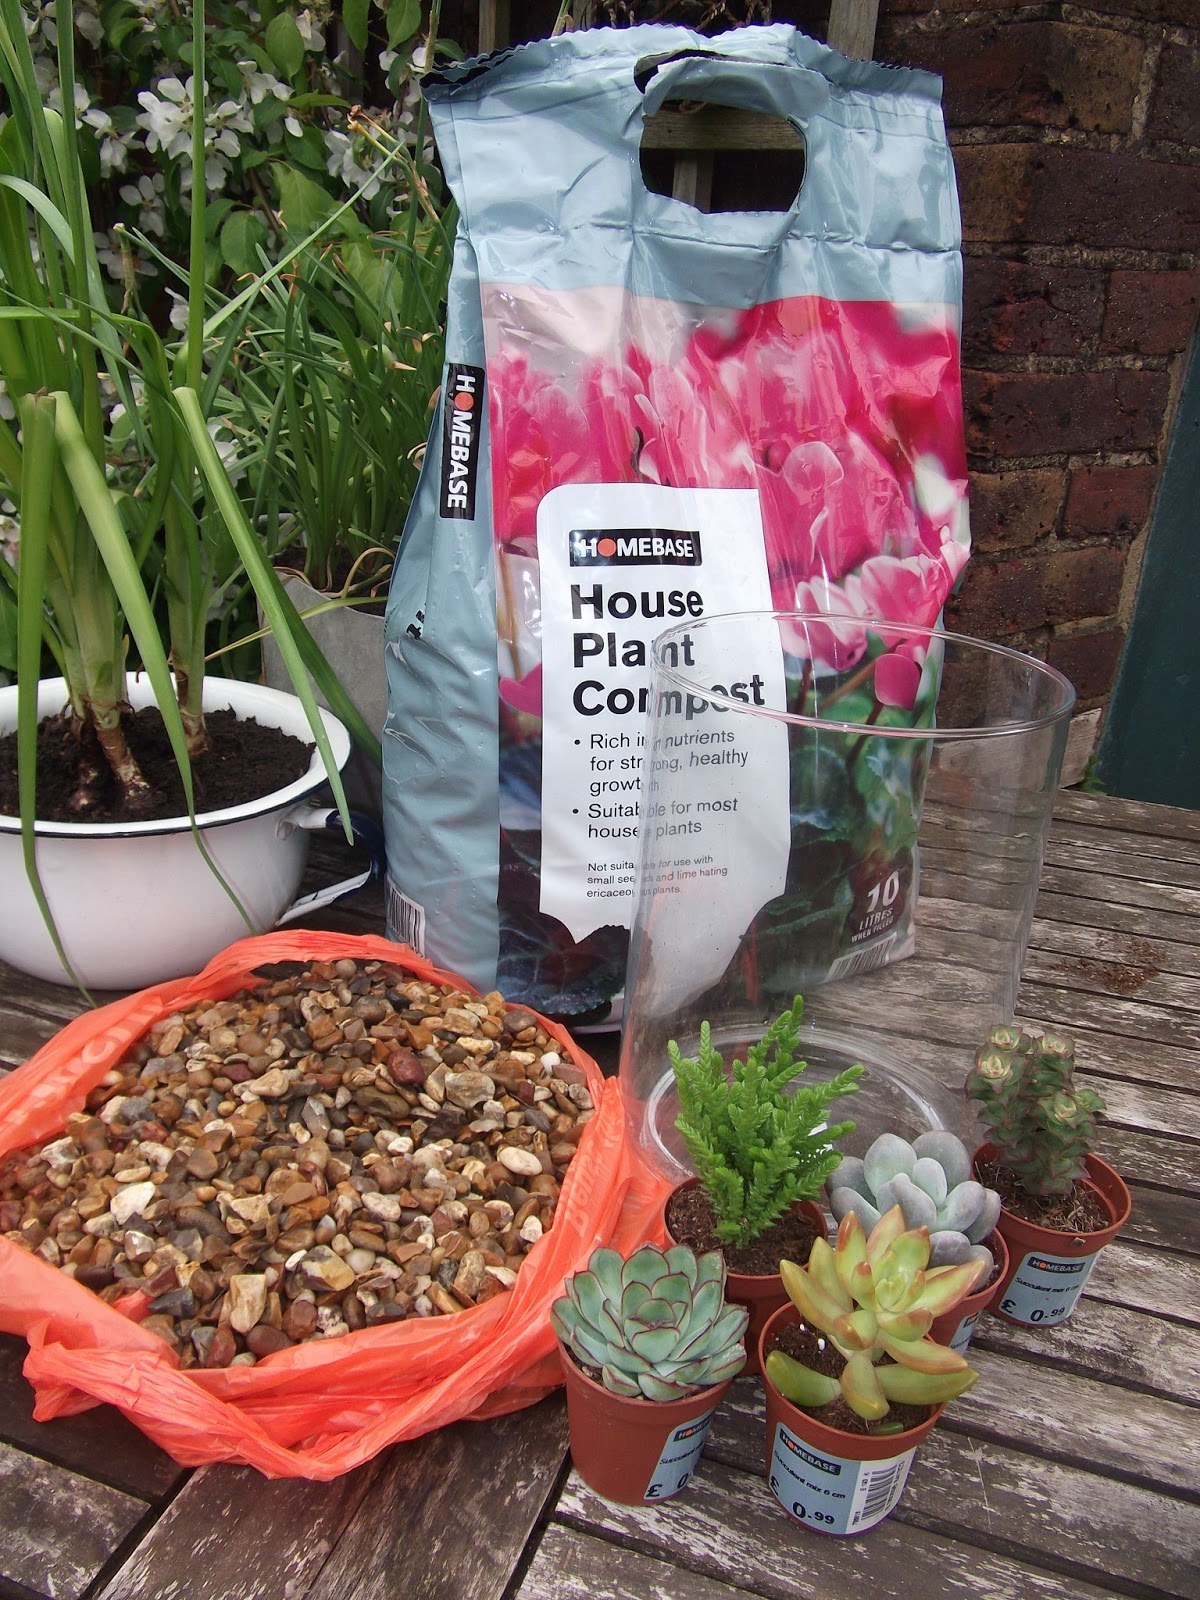
....as well as doing the jar swag light and making the succulent terrarium, I have also been working on the nostalgiecat logo.

I created this cat many years ago, when I was studying art in Norway, and since then he has taken many shapes and forms, in a multiple of medias...more on that in a later post.

This time however, I decided to keep it simple.
I'd seen this cheepo way to do printing somewhere a while back (sorry, but I cant remember where), and decided to have a go....

.....it all starts with a pizza base from sainsbury's.....(I guess that's what we're having for dinner....waste not, want not...)


This may sound strange, but you see: these pizza bases comes with just the right packaging....you can probably find it on other things as well, but it has to be that sort of 3-4ml thick foam that is often used in food packaging.....


Turn the foam over and cut out the size you want your print to be...
...I used the glass from a frame as a template.


When you've cut your foam to shape, simply use a blunt pencil to draw on your artwork.
You want to apply just enough pressure so that you carve into the foam without going though .
Start of lightly...you can always go over again....

 Add as much or as little detail as you want, bearing in mind that really small details will probably not show up in your print. 

When you are happy with your artwork, dig out some paper/canvas and paint.
for my purposes I used normal paper, but using canvas or textured paper would add another dimension to your print. 


 Apply paint all over your template.....


Turn over and press firmly onto you paper....


Carefully peel off the template to reveal your print...


Experiment with different brushstrokes, colours and amounts of paint for different effects...


 You can even layer prints in different colours on top of each other...
.....have some fun..
Get the kids involved....you cant really go wrong....


I am pleased with how my nostalgiecat logo is coming along, and can't wait to add it to the design of my blog....watch this space!!

 This project has inspired me to dig out my paintbrushes again , and I have some big canvases in the cupboard waiting to get done.....

Thanks for looking..

xxx
June


DIY succulent terrarium


......simple indoor gardening for people without green fingers.


I have been seeing these all over pinterest for a while now, and think they are super cute!
I love houseplants, but have not exactly got green fingers, so was encouraged by the promise that these were easy to keep.
 (I have been known to kill a plant by just entering a room...OK , a slight exaggeration, but you get my drift....)
So....let's give it a go:


I got  a simple glass container in a charity shop for £2 , nicked a few handfuls of gravel from outside our local supermarket,
then got some houseplant compost (succulents like soil containing "peat"), £4
and a selection  of succulents from homebase, at £1 each.


Here's a list of suitable succulents:
Echeveria
Silver sprinkles
Chandelier plant
Baby's tears
Jade plant
Rhipsalis cactus
Oscularia Deltoides 

 First put a 2" layer of gravel in the bottom of your container for drainage
then add the soil
Arrange your succulents how you want them, making sure the roots are covered by the soil.
Give it a little bit of water and voila....your terrarium is finished.

Put it on a sunny windowsill...maybe group a few of them together for maximum impact. I will definitely do some more of these.....
 Part of their beauty is that they don't take much looking after..(so they say)..don't worry if you forget to water for a while...
.....also : it is supposed to be really easy to propagate succulents ......
Just cut a piece of your succulents (say when they get too big for your container), let the cut off leaves dry for 24 hours until they form a callus over where the cut was made.......
....then you can replant these in new terrariums.
I think that is what you'd call cheap and cheerful!!

I found lots of great advice on succulents at http://www.succulentsandsunshine.com


I think I'm hooked on these....so easy and cheap to make, and hopefully I won't kill them too soon...
...will be on the lookout for more interesting containers to add to my indoor garden...

xxx
June

DIY Jar pendant light


We really needed a light over our kitchen table, and instead of paying for an electrician to come in and install one, I decided to make this easy  free hanging jar-pendant......

This is such an easy DIY......
.....all you need is:

I've been looking for a suitable jar for this project for ages.....inspired by mason jar light tutorial. I really had my heart set on a Norwegian norges glass, but they are now unfortunately out of production.
In the end I found this beautiful "Crown" jar in homebase...
But a screw lid Kilner jar would work as well. 

....a nice screw-lid jar (make sure the opening is wide enough to fit the light bulb through)
....a lantern cord kit/ swag light cord kit

I got my lantern cord kit from hanging lanterns
.....a drill with a sharp hole-cutter bit
....a gripping underlay (such as an old carpet)
....a rounded file

I know....the state of my drill....

All you really need to do is drill a hole in the lid, the right size to fit the bulb-end of your cord kit through....
.....find the centre of the lid, drill a small pilot hole as a guide, then ,using a hole cutter-bit in the right size drill the hole.
It will help if you place the lid on a gripping surface, as it will want to spin as you drill it.(I used an old bit of carpet)

NB! Depending on what metal your lid is made from, this could be quite hard work, and the lid and drill bit could get quite hot.....

Use a file to neaten any sharp bits around the edges of your hole


Then all you have to do, is fit the bulb end of your cord kit through the lid.....


...screw on the cap bit inside the lid to hold in place...
....fit your light bulb....


....and that's it.....
....easy!!!


Now all you have to do is suspend it from the ceiling...


I love the slightly industrial look of this...

xxx
June

Friday 17 May 2013

17th may .....

..........Norwegian national day
 
So today is Norway day......


Miss Moo colouring in a Norwegian flag yesterday...
 
 Norwegians celebrate the 17th of May to commemorate the country's independence from Danish occupation and the adoption of its own constitution.
 

The day is celebrated all over the country, and is predominantly a CHILDRENS PARTY.


Miss Moo on her way to school this morning in her national costume: the bunad.
 It is a national holiday, and school classes march  in procession through the local communities, singing and waving flags, dressed in their national costumes...often led by the school band.


Blowing up balloons for our little party today

guess who's out of breath....


 After the procession there are games, entertainment, music and a great party atmosphere.....
Garden is ready and decorated for our impromptu 17.May celebrations....
 
So ,now I've got to go and pick little Miss Moo and her friends up from school for the party...so all that's left to say is:
GRATULERER MED DAGEN NORGE
(happy birthday Norway)
 
I will try to post some more pics from the party later...
 
xxx
June
"