Friday, 12 April 2013

DIY lace print polymer plates

inspired by the TRULY INSPIRATIONAL AND ORIGINAL DIY LACE BOWL TUTORIAL from lovemarkscollection.com


DIY lace jewelry dishes from nostalgiecat.blogspot.co.uk

This week I have been enjoying myself making these beautiful lace printed jewelry dishes.
Part of their beauty is that they are really easy to make.


By pressing lace into oven bake clay you can get some beautiful patterns....


I am  going to show you how....


DIY tutorial


You will need:
Oven hardening white clay (I used Sculpey original)
Lace or doilies 
A rolling pin
A bowl or similar (used as a "cookie cutter")
Baking paper
Ovenproof dishes (to use for shaping the plates) 
A scalpel
Sandpaper or sanding block 


Lets get started........


1. Knead the oven hardening clay until soft and pliable.
Roll out the clay on a smooth surface like a cookie dough.
Keep rolling the clay with outward strokes until approx 5-6 mm thick. 
Tip: Keep turning the clay over on the work surface to prevent the clay from sticking whilst you roll it out.
Make sure you have enough surface space to measure out the size of the plate you want to make.(in my case: a turned over fruit bowl )

Note:  You'll get nicer edges to the plates if you use a bowl ,similar to this, to push the shape out of the clay, rather than cutting around using a scalpel or knife.


2.Before you press the lace into it, carefully transfer the rolled out clay to a sheet of baking paper. This will help you pick up your finished plate without distorting the shape or leaving fingerprints in the clay, ruining the beautiful pattern you are about to press into the clay.

Make a slight imprint with your "cookie cutter" in the clay, to mark out the area you'll want to print the lace on. Then position the lace/doily and pat down onto the clay. Then using a steady pressure with the rolling pin  carefully press the lace into the clay until level...


Then gently peel off the lace to reveal a beautiful pattern!!


3. Place your "cookie cutter" on the clay and press down firmly and evenly until through.
Then peel away the surrounding clay, leaving you with a disc shape. 
Knead the scraps to repeat processes 1-3, maybe with different lace....


Lift this disc into an ovenproof dish (with the right curvature to make your disc bowl shaped - I used my trusty vintage enamel bowls), with the help of the baking paper its laying on.


4.Bake in the oven in accordance with instructions on your packet of clay.
The Sculpey original that I used, needed approx 15 min per 5 mm thickness at 150 degrees/c*


Do not overbake!

Take out of oven, and leave in the ovenproof dish to cool down for no less than 20 minutes.


5. Whilst the clay is still a bit soft (cheesy), use a scalpel to neaten up the edges of the dishes


6.Then leave for at least another 2 hours to fully cure and harden, before sanding back the edges to finish off the dishes.


........and VOILA! Beautiful dishes to keep jewelry in, or to hang up in a group on a kitchen wall...


I really enjoyed making these, and think they turned out beautiful!! 
The set of 4 dishes I made,only cost me £13.95 for the clay, as I had the other bits and bobs from before.
I am going to look into getting them glazed , as I think they need a protective surface!
So watch out for next week's follow up tutorial:


Thanks for looking and feel free to leave a comment or question below, and I will try my best to answer....

xxxJune

Thursday, 4 April 2013

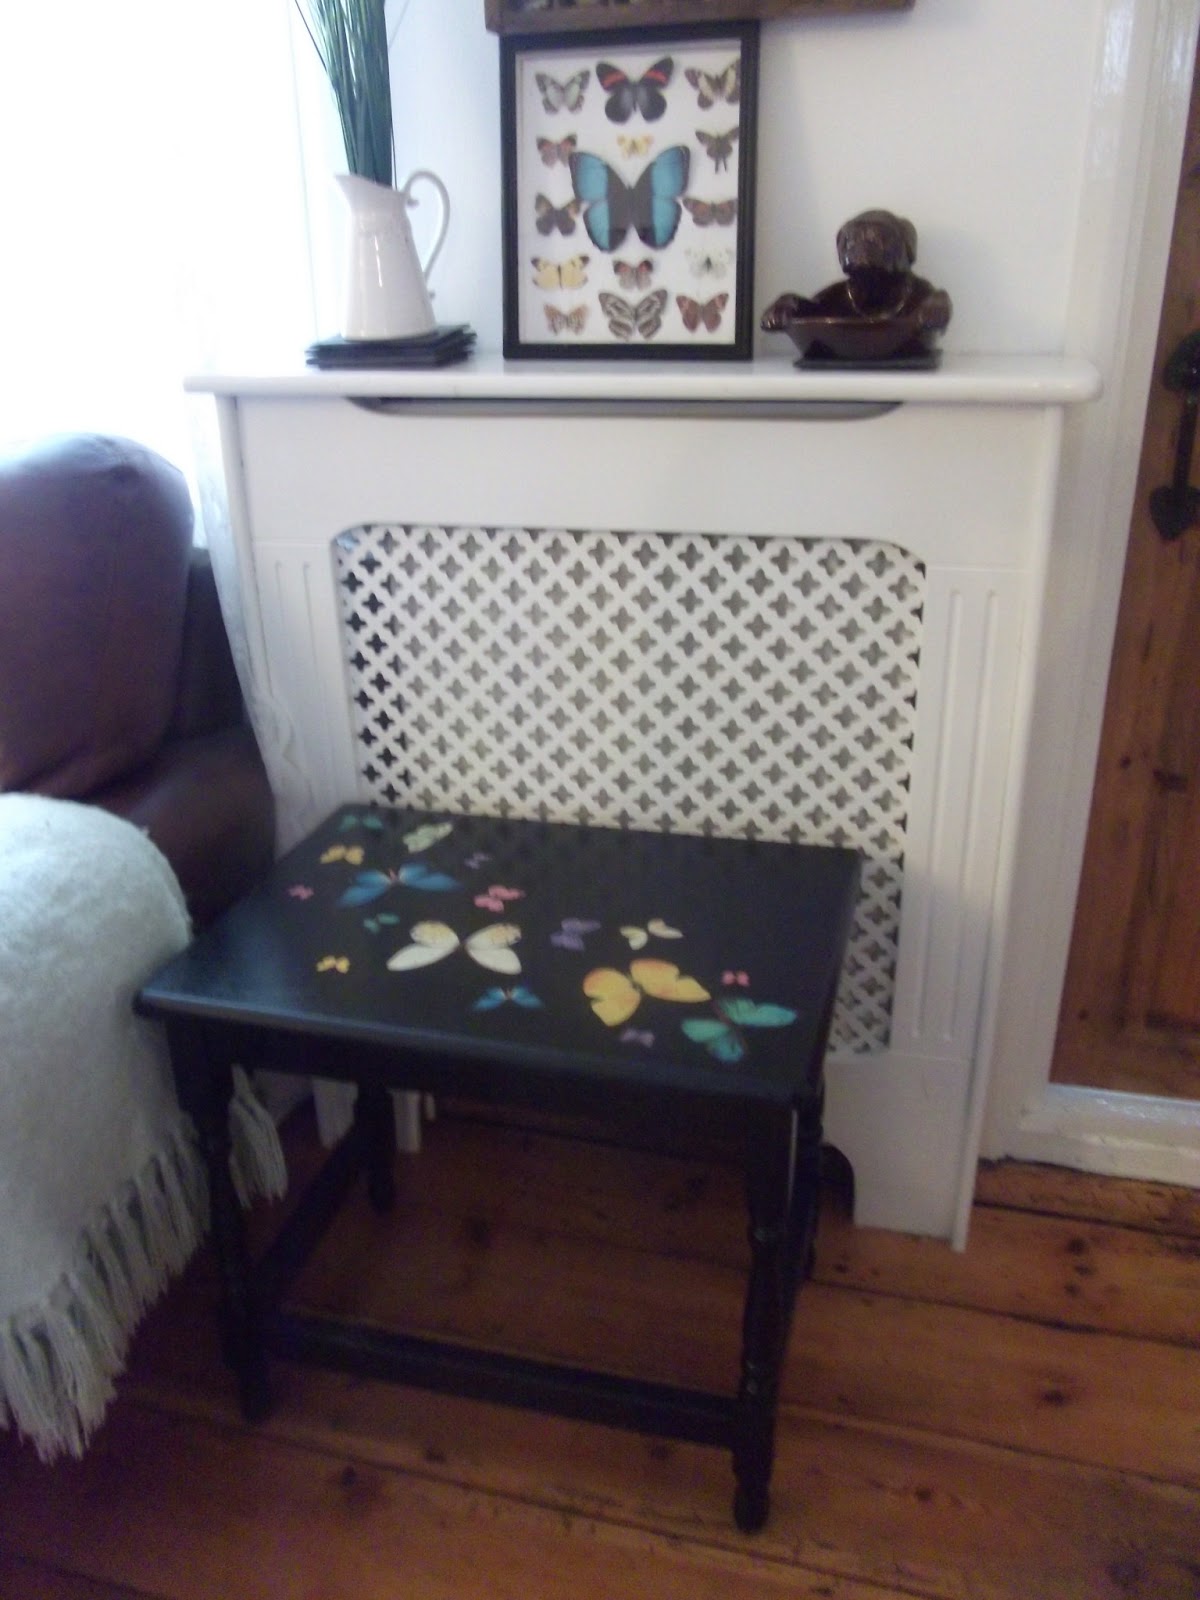
Upcycled side table: "Black butterflies"


UPCYCLED SIDE TABLE :"BLACK BUTTERFLIES"

DIY tutorial on how to upcycle an old wooden side-table on a shoestring: Using spray-paint, rub-on decals and varnish.

I have had a love-affair with butterflies since me and my husband got married, when I wore a gorgeous wedding dress by Jenny Packham covered in embroidered butterflies.

My husband gave me these framed taxidermy butterflies as an anniversary present last year.
I loved the sentiment behind the gift as much as their beauty.
And this was my inspiration when it came to upcycling this old wooden side table, that I found for £8 in a local bric-a-brac shop.
It really had seen better days.
I really didn't have a lot of money to spend, so this was going to have to be upcycling on a shoestring.
I found a can of black spray paint for £4.99 in a local auto care shop, and bought some butterfly rub-on decals at hobbycraft for £5. I already had a can of clear "plasti kote" varnish laying around from a previous project.


I gave the table a light sanding over, then a good clean with soapy water. When completely dry I sprayed the table black.
I attempted to rub on the decals at this stage, but found they lifted off too easily, so I decided to give the table a light spray of varnish before rubbing on the butterfly decals whilst the varnish was still a bit tacky.

This seemed "glue" the decals to the table.
I then sealed them in with a heavy layer of varnish on top.


I did find that the table had to stay untouched for about 24 hours to ensure the thick layer of varnish was fully dried.


I love the end result, and think my table looks lovely in its rightful place under my framed taxidermy butterflies....and all for under £20!
Thanks for looking! Feel free to post comments or questions below!

Laters,
June


Please spare a minute to vote for me for best diy blog in the Amara interior blog awards (click on the image below)

amara interior blog awards

Saturday, 30 March 2013

Make it a celebration....

EASTER TREE

Whilst I busy myself with some furniture upcycling commissions, I thought I'd re share this post from Easter time last year...This as one of my very first posts here on Nostalgiecat, and I can honestly say it feels like a million years ago (and a "few" photography skills later) ...
 
I will bring you some kind of Easter DIY next week, I promise, but for now, lets get in the mood for the "yellow season"...
 
So here goes...A post from about a year ago:
 
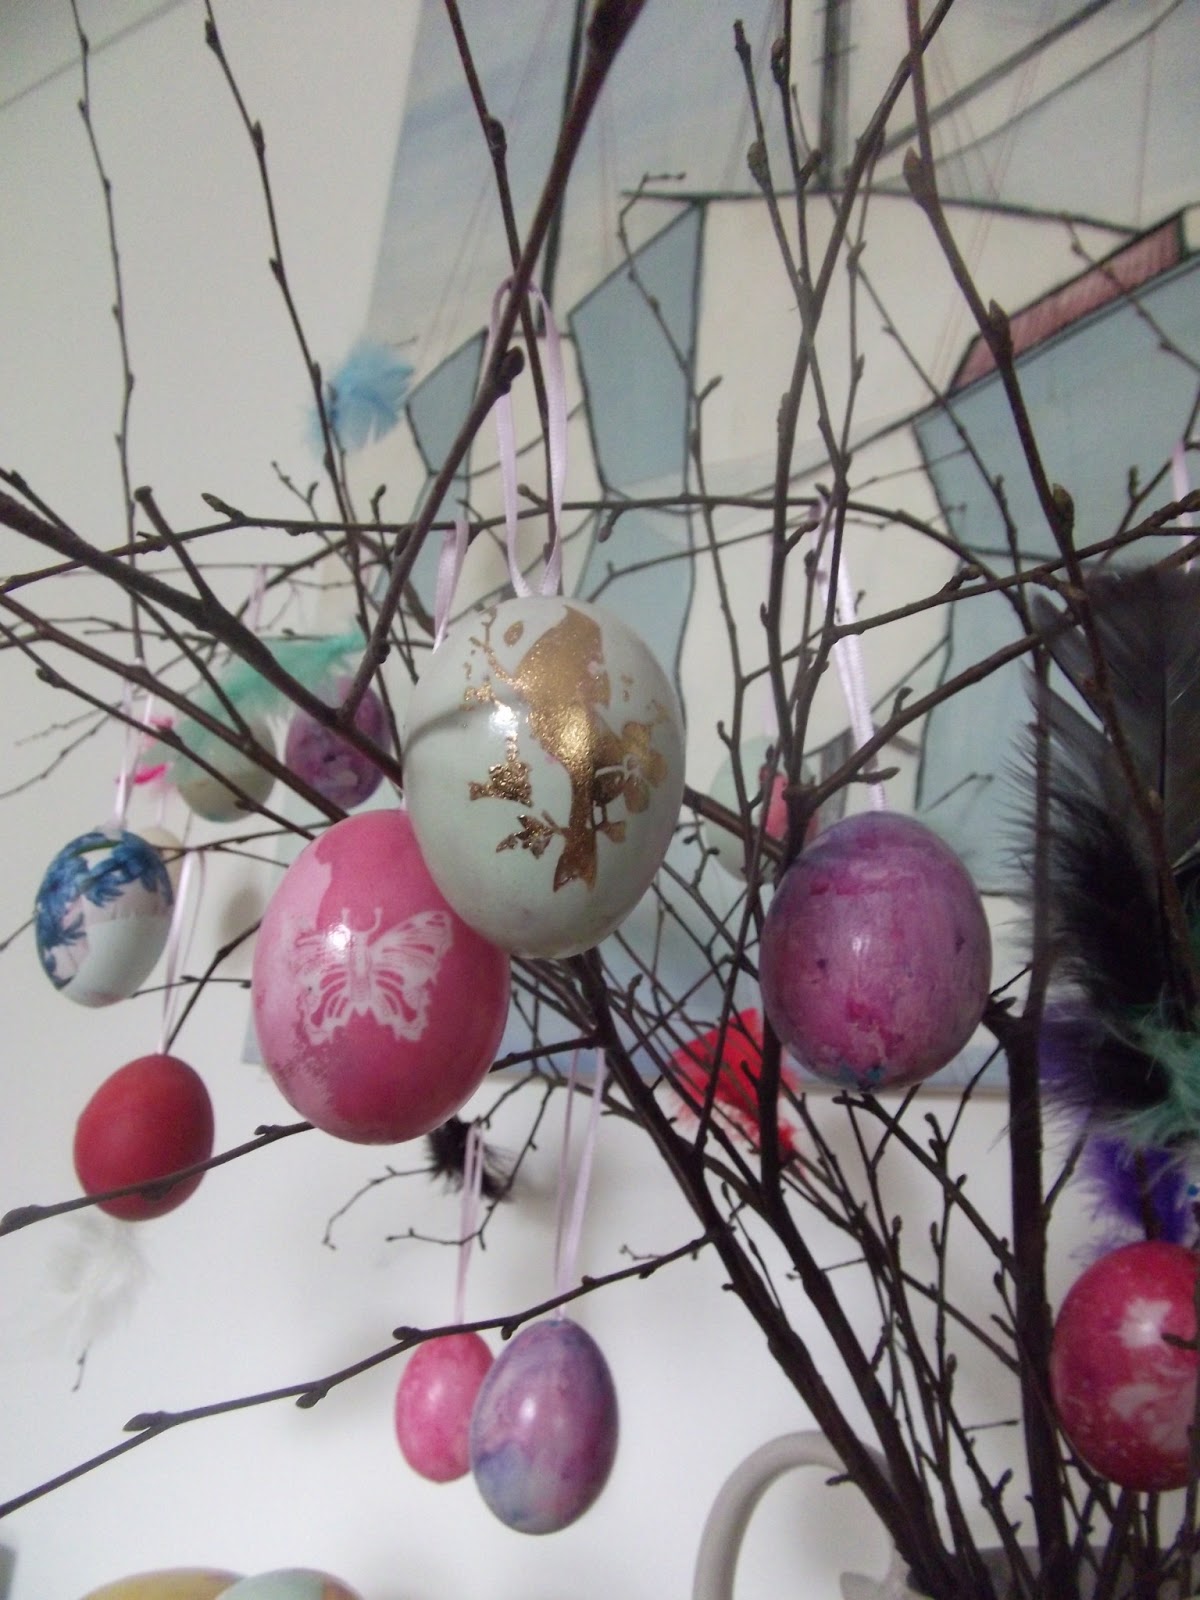
Since having my daughter, little miss Moo, it's become more and more important to me to uphold the holiday traditions I grew up with in Norway. Easter is one of those times a year when I become particularly nostalgic. Having lived here in the UK for more than 15 years now, I thought We'd make our own EASTER TREE , or "fastelavensris" (actually fastelavens comes about a month before easter, but bringing tree branches in to decorate is so fitting throughout this season...),this year to get us in the spirit of Easter!
 
 
In Norway, Easter is a big deal, whether you are religious or not. Traditionally the Norwegian symbols of Easter is chickens and Eggs. Another Norwegian symbol of Easter is the "fastelavensris"!
In pagan times the Norse put up birch trees inside to invite the smell of spring.
Nowadays feathered birch twigs are a decorative feature in the norwegian home during the easter holiday, as well as yellow flowers, such as daffodils.


Another Norwegian tradition close to my heart, is Easter crafts, especially painting and decorating eggs.


The feathered birch twigs are decorated with painted eggs for Palm Sunday, which marks the start of the Norwegian Easter.


We are really pleased with our "Easter tree", and little miss Moo is very proud to see her eggs hanging pride-of-place!


We used a variety of techniques to decorate our eggs:
Some we dyed with a mixture of food-dye,white vinegar and water, others we simply sprayed with liquid watercolor in mini spray bottles. (This is particularly fun for smaller children, as it can get quit messy....in a good way!)


I decoupaged some of the eggs with old norwegian "glansbilder" and napkins, and some I decorated with decals and rub-ons!
 
 
So although we are missing out on the whole Norwegian Easter experience, with skiing-trips to the Easter mountain and watching the Easter Crimes traditionally shown on telly, We now have our own "Fastelavensris", and look forward to a big, traditional Easter breakfast.......
 
 
....followed by a good ol english Egg hunt!
(It is always allowed to enjoy the best of both worlds)


Please feel free to add a comment below, as any feedback is greatly appreciated!


xxx
June

Friday, 29 March 2013

Happy easter

                 Happy Easter!

This last week I have, as many of you, been getting ready for Easter!! House cleaning and food shopping, and a little crafting to get in the mood for it all!! Today me and my daughter,little miss Moo have been decorating blown out eggs, ready to hang on our Easter tree tomorrow.
We used various techniques, from Decoupage to egg dyeing. We both loved our end result!!
I am sure these are going to look lovely on our Easter tree!! I will post more pictures tomorrow!!
In the meantime....Happy Egg hunting !!

Friday, 22 March 2013

SPRINGTIME

Brrrrrr.....its cold outside!!!
We've got to the end of March , but it sure doesn't feel like spring yet here in the UK!!
With grey Skies and freezing temperatures, its a miracle that the flowers and trees seem to faithfully follow the seasons and ignore the weather to start blooming.....

So I decided to bring some of these miracles indoors, to remind me that spring really is on its way!
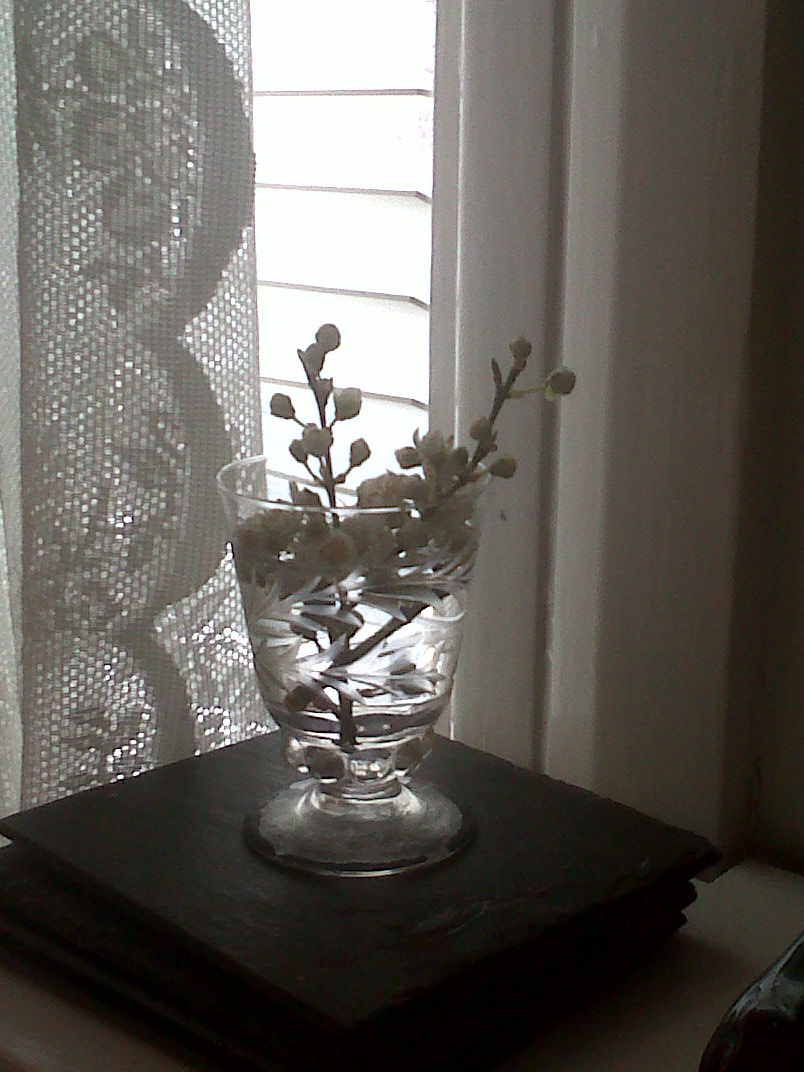
 These beautiful white cherry tree flowered twigs make easy and pretty displays all over the house
 The Russian doll actually came from Russia with love:  It was a gift from my husband . He brought it back after having been to Moscow with work.
 The bell jar is from TKmaxx, the white parrot-on-a-branch candle holder(inside bell jar) is from Zara home and the Chinese figure  found me :I kept seeing it on various antique centres and stalls , and decided it was meant to come home with me.
So take some garden clippers out into the cold and go searching for signs of spring to bring indoors!
Just make sure you wrap up warm!!

WELCOME TO NOSTALGIECAT

HELLO!!

My name is June and I decided to start blogging, not to show off my perfect life, but rather to document my pursuit of it.
Now, having said that: "life is a journey, not a destination", so I want this blog to help me ...and hopefully anyone reading it, enjoy all those little moments and things that make up a life!!
I 'll be posting about family life, as we settle in in our "newish" home here in Hertfordshire, the things that make me smile, and my journey as a mother, as well as my DIY PROJECTS...the little things I do to make our house a home.
I plan to post A PROJECT A WEEK, upcycling old furniture, finding new uses for unused things or making things, useful or just pretty, to enhance our home and life!!
I hope to inspire, not just you,the reader, but mostly myself!!!

It may take me some time to get the hang of blogging, but I hope that by putting my life journal out there like this, will spur me into action....so watch this space!!


"