Tuesday, 5 August 2014

Mini hallway makeover reveal

From messy dumping ground to useful and pretty!


OK! So this has been a little side-project of mine....a midst redecorating the kithcen....
Yes, I really have been busy!!

We have this tiny little hallway, leading out to the garden and the bathroom from the living room.
Because our house is pre-Victorian....built before bathrooms were considered a necessity, it is an extension at the back of the house, and it was added without much thought to a practical floor plan sometime within the last 80 years! This has left us with a tiny little hallway with no less than 3 doors leading off it!!
It is a a bit like "Takeshi's castle" (see minute 3:50 in the link...it's hilarious, I promise!!) trying to maneuver between the living room, out to the garden and into the bathroom!!
 It has a little recess, that used to house the gigantic old boiler ....which we replaced with a smaller modern one last year...But since then this space had become a messy dumping ground with exposed pipework and an uneven floor!
Que ugly "before" pictures:


A total mess, right??
So we got a carpenter in to box in the pipework and build some useful shelves in the recess.
He did a great job, creating shelves that fit around the new boiler and can come away if we need access to the pipework and with panels for access to the electrical sockets!


An improvement, for sure! But it still looked messy, as we didn't use our new storage to its potential...it was still a dumping ground!! And the manky old carpet (had probably been there since the 70's!!) along with the tatty magnolia painted walls made for a very dull space indeed!! (DON'T get me started on the color Magnolia: It's the epitome of DULL!!) 


The door leading out into the garden, was also looking past it's sell-by date, it was dirty with an old cat-flap that was falling apart. Another issue with this door was that in the summer, the evening sun would come straight through the glass panel and near-enough blind you if you were sitting on the sofa in the living room...making it impossible to watch a bit of telly!! (Yes, I LOVE watching a bit of telly in the evening....who doesn't??)

So although this was a very small space, it had some issues, and needed  makeover!!
Nothing fancy: A lick of paint, new flooring and some organizing... but of course with some "Nostalgiecat" style creative solutions, to keep the cost down!!!

And here's what it looks like now!!


A lick of paint...tick! New flooring....tick! Even the old door to the garden has had a makeover: I used spray paint to refresh the colour and installed a new cat flap! Even the glass panel has had a transformation, but more on that further down the post!!


I replaced the old carpet with some patterned stick down vinyl tiles...easy!! 


Comfortable under foot, and just the right colour combination to suit my taste...(I also love that they are called "Marrakesh", as that's where me and Mr had our last holiday(/before Little Miss Moo was with us....gosh that's 6 years ago: We really need a holiday!!)


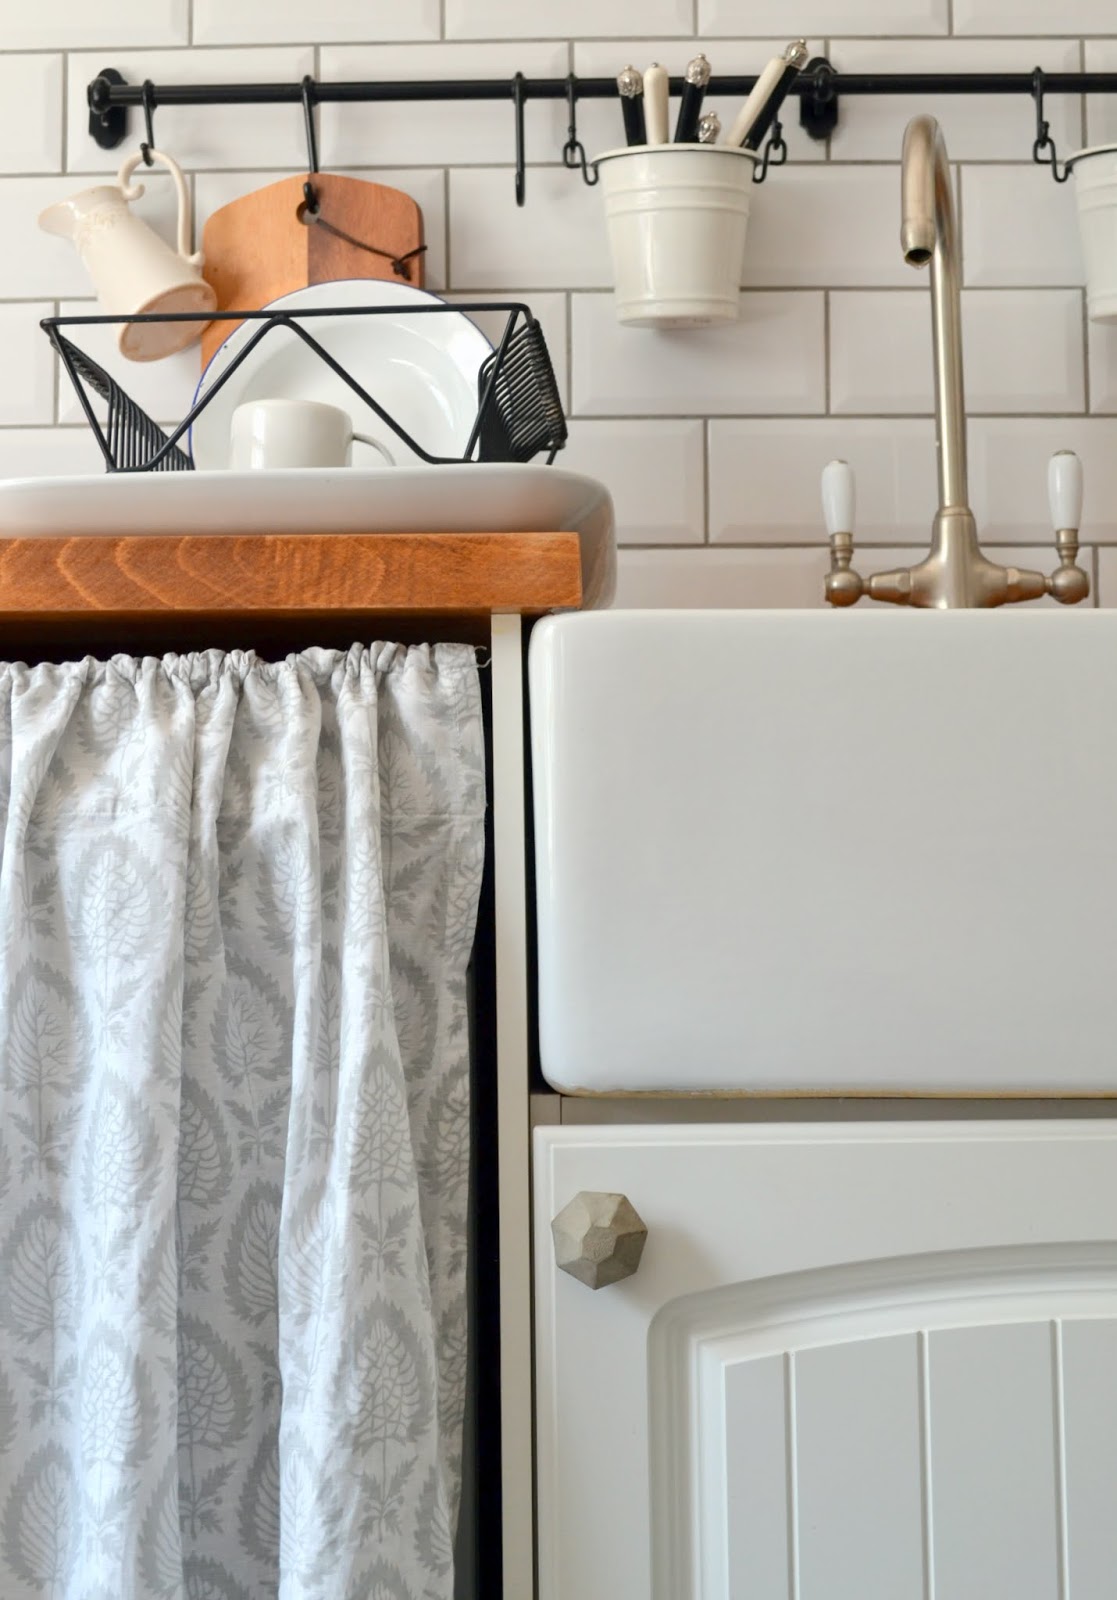
I used the silvery grey paint I had leftover from when I stenciled the hallway, and my old bedroom curtains from IKEA has once again come in useful, covering the shelves and helps neatening up the space!!


I love mixing patterns, and the subtle colours of the vinyl tiles and the curtains works really well with each other, don't you think? And as luck would have it, the silvery grey paint is a great match to both!!


Here's the view from the bathroom, facing the door leading into the living room.


I made a removable "faux" stained glass geometric pattern for the glass panel in the door leading out into the garden!
Although subtle in the colours (bar the pop of yellow!!:)) it helps take the glare of the sun away when I am watching telly on the sofa!
I will show you how I made it in my next post!


Remember how messy my shelves were?? Well, with the curtain, I can hide it all away....
But I have made a conscious effort to organize this storage space:


As it is situated just outside the bathroom, it made sense to store laundry, towels and extra toilet roll here!
I also placed my beloved old gilded mirror there (My Farfar (grandad) gilded this for me when I was a child, and the frame used to surround the wedding picture of my great great grand parents....so it's very special to me!!) and created a space where I can do my hair and make-up, with easy access to the electrical sockets for plugging in the hair drier and my straightening irons!!


...freeing up the bathroom for other necessities! I'm sure this space will become very useful when Little Miss Moo becomes a teenager ....LOL!


So this space has gone from useless, awkward and messy to a lovely and functional space (although maybe still a bit awkward with the doors...)

This little makeover shows that with a little effort, you can make the most of the space you've got....and even an awkward little hallway can be beautiful!!

I love it! But for how long will I manage to keep those shelves tidy?  Only time will tell!! But even if they do get a bit messy, all I have to do is pull the curtain shut!!


Please spare a minute to vote for me for best diy blog in the Amara interior blog awards (click on the image below)

amara interior blog awards

Friday, 1 August 2014

Happiness is.....


....what you make it!
(and discovering a new favorite!)


Ooooh! I've got a new favorite shop!!

With bright and airy images of edgy and modern interior design, with shots of rusticness thrown into a palette of soft pastels in a monochrome world, BODIEandFOU epitomizes Scandinavian interiors ...with a french twist!!...Just the perfect combination!!


Their blog is just beautiful, but also it's worth following their instagram feed!

One of the things I love about BODIEandFOU is that their range and ethos is conducive to creativity...
Karine Kong ,the founder of B&F says: "I aim to create homes, interiors and workspaces with happy vibes. Places that make people feel good, that inspire them to be creative". 
This ethos is evident in all their range, but maybe particularly in the B&F collection of prints!

So a  few weeks ago when Karine challenged people to jazz up the beautiful Bodie and Fou  natural basket in a creative way , for a chance of winning back the cost of the basket + one of their fabulous prints...

....Of course I HAD to do this!!


I thought about using paint to adorn my basket with some geometric shapes, or even some kind of graphic wording....but in the end I considered the baskets beautiful shape, and decided to keep the decoration subtle, letting the shape speak for itself:
I  used embroidery thread and simply stitched a herringbone pattern in shades of mint (to suit my bedroom decor) along the edges of the basket...
I love the way it turned out...and it adds a nice beachy/summery feel to my bedroom!!

Now I've just got to wait and see if I win...


....and if I do: It is hard to choose between the B&F collection of Black and White prints....
But I think maybe the one above...??
Wish me Luck!!


NOTE! This is NOT a sponsored post, but rather a homage to a shop that "speaks" to my sense of interior style!
If you, like me, love Scandinavian interiors...you will love Bodie and Fou...so I had to share this with you all!!

Next week I will be back with another(!!) home-makeover reveal!
This time our little hallway has had the "Nostalgiecat" treatment...with a new DIY project!!

Follow me on Instagram for little sneak previews...


Wednesday, 30 July 2014

DIY Jar labels

using waterslide decals


Today I wanted to share with you all how I made these labels for my glass storage jars!
Reminiscent of  these "designer glass storage jars" from J by Jasper Conran, but for a fraction of the price!!
I bought some cheap storage jars from ASDA ,designed my own label that I applied , and I think they look great, dont you??


Apart from some cheap glass storage jars, you will also need some special paper called "waterslide decal paper". You can purchase this in any good office supply shop for around £10 (You'll have loads left over after this project for future use!!) There are several brands of this type of paper on the market, so make sure you purchase one that is compatible with your printer! I used Lazertran Waterslide Decal Paper.

And you will of course need your label designs:
You can download my labels here .... OR you can create your own: I used Picmonkey's design tool: Choose a font (You can find a similar font to the one I used to download for free here ) and design your own labels! 

MAKE SURE YOU FLIP THE IMAGE (so that it's mirrored) BEFORE PRINTING!!

Save to your computer, and print it out on the decal paper

When printing , please ensure you print on the correct side of the paper and use the printer settings recommended for the brand of decal paper you are using!

Leave your printed labels for about 1/2 n hour to let the ink settle!

Now you are ready to apply your labels to your storage jars!


Cut out your labels (Please ensure they are all the same size and cut them out neatly!!)
Place the label(s) in a bowl of water for about 1 minute....


Apply, face down to your glass jar(s). Move around until you are happy with the positioning and smooth down any air-bubbles using your fingers, then slide off the backing paper!

Leave to dry!!


C'est ca!
I love the way these simple labels make these cheap storage jars look like expensive designer ones!They look good enough to display...don't you think??
And of course, by keeping your cupboard essentials in these labelled jars, you will save cupboard space!
(and if you are anything like me, you need all the cupboard space yo can get!!....I think maybe its time for another clear out!! LOL:))


Saturday, 26 July 2014

Kitchen reveal...

So here it is : My new look kitchen!!
What do you think??
I Love it!!
Gone is the horrid blood red walls, grubby wall tiles and mismatched fittings! See the before pictures in this post!
This transformation happened quickly: It started when my mum bought me a pot of paint (Homebase silver mist, If you want to know!!) with the instructions to "sort out the kitchen!" back in June...
Not that I needed instructions to do it, as I had been planning this makeover for quite some time, but the paint was the "kick up the backside" that I needed...
It has been a lot of hard work, but I can honestly say that I have loved every minute of it!!
And I've learned some new skills along the way....
...like tiling! 
Of course I got my metro tiles for cheap: Firstly I got hold of a box of tiles for nothing on freecycle , then I phoned up the company on the box, walls and floors, explained the situation, and they where very helpful and advised me on the most economical wall adhesive and grout to choose!!.....And they gave me a 15% discount and free delivery on the rest of the tiles that I needed....IF YOU DON'T ASK YOU DON'T GET!!
Anyway: I now tile like a demon!!
Even if I say it myself: I did a pretty good job for a "first-time" tiler: Even Mr was impressed!!
It was a messy job: I first had to chisel the old tiles off the wall, and most of the plaster came off ....so I had to patch up the walls and re-plaster as well ( also a new skill!!) I was thinking of doing a "novice guide to re-plastering a wall and tiling....but I think I'll leave that sort of advice to the experts!
I found some really useful advise on tiling at the walls and floors website and on re-plastering walls here!
 

So with the kitchen painted ad re-tiled, I was ready to add some finishing touches to complete the look:
Like hanging up some curtains (Some old IKEA ones that I already had) to cover the washing machine!

I also made my own DIY cement diamond cupboard pulls, to personalize and refresh the old kitchen units!

I love IKEA for practical yet stylish solutions: I already had the IKEA fintorp dish drainer and cutlery stands on wall rail , but had never got around to hanging up: Of course I had to drill through my tiles to hang it up  (another new skill) which was a bit daunting, but actually really easy....see my post here to find out how!!
And it really is so useful to have this wall mounted storage by the sink, as it keeps my recently re-surfaced wooden worktop free from clutter and makes it easier to keep it damp free!

I have used a giant ceramic serving platter, that I picked up in the sales in my local supermarket, as a draining board next to the sink!


I also wanted a shelf on that wall, and had had my eye on some lovely ones with hooks for your mugs underneath from a local antique shop....but they came a rather hefty price tag (nearly £200??!!) So I decided  to compromise: So when I found an old scaffolding plank in the skip, I instantly knew that this would be my new kitchen shelf! And I am so glad I did...I love the way they look against my metro tiles!!! See how I did it here!


A feature I've always loved in my kitchen, is the built in wooden shelves in this corner: I just gave them a tidy up and use them to display my small collection of white bake ware! 
And the butchers trolley is now clear of all my unfinished projects and has become the new home for all my plates etc. - freeing up some much needed cupboard space!


I did splurge on some new accessories for the kitchen, like this Betty Jackson fruit bowl and the little faceted bowl in the back ground, from Bloomingville....but as ever: I waited until the sales, then snapped them up at bargain prices!!


I also used copper spray paint throughout the kitchen to add some details, like in the cubby holes and on the mini chest of drawers  in the pictures above...
The copper idea all started when I found this wonderful copper pendant shade from Dunelm mills at a bargain price of £14.99.It was perfect for over our kitchen table! I simply used a cord kit from Claes Ohlson, and hung it up from a hook in the ceiling! (To save forking out for an electrician to come and install it!!)


I just love it!
And with the little shots of copper throughout the kitchen, like on my upcycled kitchen chair, below...


....and the details on this piece of slate, left over from when we had our roof redone recently, used as a table-top-saver....


The copper really ties the look of the kitchen together!


Another thing I splashed out on, was a new kitchen table!! Our old one was just a bit too big, making it  awkward to squeeze past to get into the kitchen! I was going to DIY one, but when I found this one ,for a bargain £95, the perfect size, with rounded corners (to avoid bumps and bruises)  and just the right nod to mid-century scandinavian design, I went for it!! And as I sold my old kitchen table for near enough that,  I felt I could justify it!!  And I love the white tabletop....no more need for a tablecloth!!


Other than the new table and pendant shade there is not much change on this side of the room....


The window dressing is still the same, with the addition of Mr.'s bowler hat that he wore on our wedding day! And I love my Thai sweeper, given to me by a friend!!


A new basket fits perfectly on the corner shelves, another bargain from TK maxx, and provides storage for all the paper that always seems to pile up in our kitchen. 


The blackboard organizer I made here has been given an update with a free printable calender from Jasmine Dowling, A wire storage basket from housedoctor is perfect for incoming mail, and the "concrete geoball bowl", part of my new, more sculptural range of concrete home accessories, provides the perfect spot for keys and change!!


I am really pleased with my new , and updated kitchen ceiling spotlights! Again the shots of copper helps tie the look together!


I treated my self to a new kettle and bread bin in the sales.....


.... and updated our old wooden knife block with some copper spray paint to fit in!


Everything just looks so much fresher now , set against the white metro tiles...


I adore my new condiment tray,with the amazing Jonna Saarinen print, courtesy of my luxe, a fab online homeware shop, that specializes in unique and affordable home accessories! I love small online shops, like My Luxe, that promotes small and up-and-coming designers!!


It is perfect for keeping those cooking essentials in handy distance by the cooker whilst saving the worktop from stains left by oils etc!! I was also given a matching Jonna Saarinen print tea-towel, that I love so much I have banned Mr. from using it!!


I bought some cheap glass storage jars, that I've made some simple labels for, for my cooking and baking essentials, displayed on my new kitchen shelf they not only look great but also saves me some more valuable cupboard space. I will show you how I created the labels in my next post!

I have also set my mind to keeping some living salad, fresh herbs and a few potted green plants in my new kitchen- for a fresh look!....God bless them,  for I  have black thumbs, and have in the past been known to kill anything green within a week!! But in my attempt at keeping the greenery in my new look kitchen, ahem....green ,I have hung a jug in handy distance from the kitchen sink, ready for a daily watering session!! Wish me (or rather: My poor plants) luck!! 


I am soo pleased with my new look kitchen, and the fact that I've managed to complete the transformation for less than £200!

I have compromised, begged, stole and borrowed, used what I had, upcycled, updated and found some creative solutions to achieve the look....but most of all: It was hard work and determination ....and a clear vision of what I wanted that got me there in the end!!

Read my guide to redecorating your home on a budget and my post on decor and furniture on a budget for more tips and tricks to get the look you want for less!!

So what do you think about my new look kitchen?
Let me know by leaving a comment below!

Please spare a minute to vote for me for best diy blog in the Amara interior blog awards (click on the image below)
amara interior blog awards
"