Tuesday, 10 February 2015

DIY wood and concrete candlestick


So this last week I've been all over everything wooden!
I love the look of wood, it adds an authenticity and warmth to any interior!
So I spent ages trying to figure out what sort of DIY with wood I was going to try out for myself!
In the end, a little and worse-for-wear stump of two-by two that I found in the road (????) on the school run sparked my imagination!
So capturing the trend of mixing materials, I've made this concrete and wood candlestick, and today I'll show you how!


You will need:

2x2" stump of wood
Wood saw
Drill with spade drill bit (size of the diameter of a candle)
Candle
Foam board
Rapid set Concrete or cement
Stanley knife
Tape
Sandpaper

First I sawed my little stump of wood to size, then I Used the spade drillbit to drill a 1cm hole in one end to hold the candle....I also drilled some little holes all around both ends of the wood, so that the concrete has something to grip on to....

Now you may think: Why not just drill a hole in the wood for the candle and leave it like that??
That's nice, but....
There is two reasons why I decided to use concrete to make this candlestick:To capture the trend of mixing materials, but more importantly, to make sure the candlestick would not be a fire hazard! The concrete shields the wood from the flame of the candle!!

SO....

Next up I made a case out of the foam-board that would fit snuggly around the wood:
 I made it about 2" longer than the wood on both ends, and taped it tightly around the wood...
 Then I mixed up some rapid set concrete (cement would also work here!) and poured it in on the bottom half of the wood first....when that had set, I turned it over and did the same on this side.... 

...only this time I set the candle into the wood first, and poured the concrete around it!
Then I left it all to set overnight!
The next day I removed the foam-board casing, and left to air-dry for a few more hours!


Then I just tickled it with some sandpaper to remove any rough edges....and that's it!


I love the mix of that battered old lump of wood with the concrete "melting" into it... and I am so pleased I managed to give that old stick a new lease of life...
The rustic-ness  of the wood is the perfect accompaniment to my Glass and concrete accessories displayed on my living room bookshelf!

I have some more wood based DIY's in mind for the future, but for now I am taking a little holiday, as I am off to Norway for a week! But I am starting to think about Spring....hint hint!!

Saturday, 7 February 2015

15 creative ideas using wood in your interiors


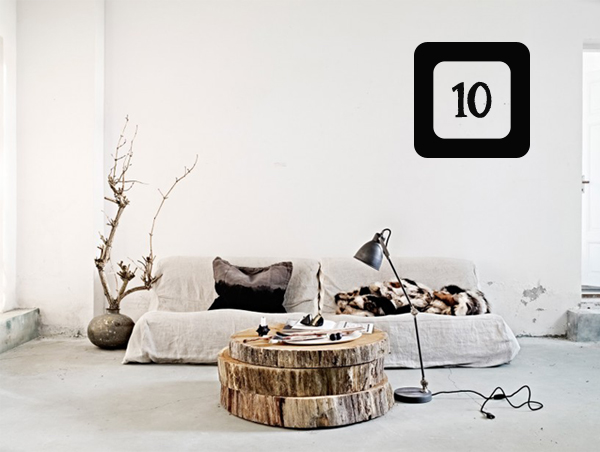
Image from improvised life

I have fallen in love with all things wood this week!
I have been spending a dangerous amount of time on pinterest exploring different creative ways to use wood in your interiors, and today I am sharing 15 of my favorite pins.

From simple and rustic coffee table ideas , like the wood-slab table , above, and the easy Pallets-on -castors idea, below for your living room...

Image via vtwonen

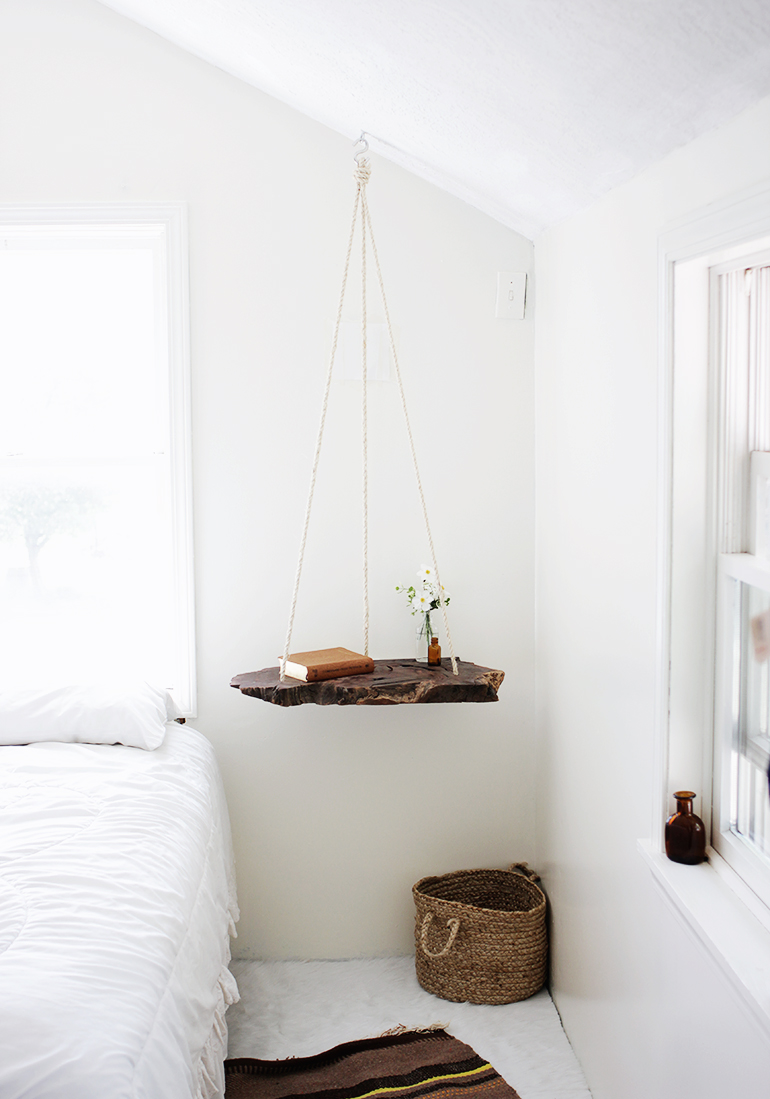
To this neat little bedside table from one of my favourite DIY bloggers, Francesca from Fall for DIY:
Image from Fall for DIY
Wood is such a stunning and versatile material: Perfect for DIY projects!

Use it in it's rawest form; Bring in whole branches and twigs....


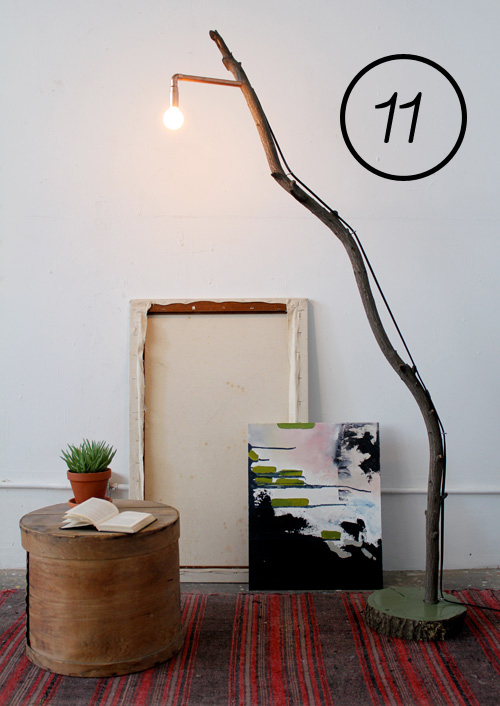
Image via living vintage co

...make a lamp stand, like above....


Or suspend a branch from the ceiling for a unique take on wardrobe storage, like the branch clothing rack Rae of one of each made, above!

image via wabisabi style

Or how about making use of some tree branches, and make some useful wall hooks, like the ones above?
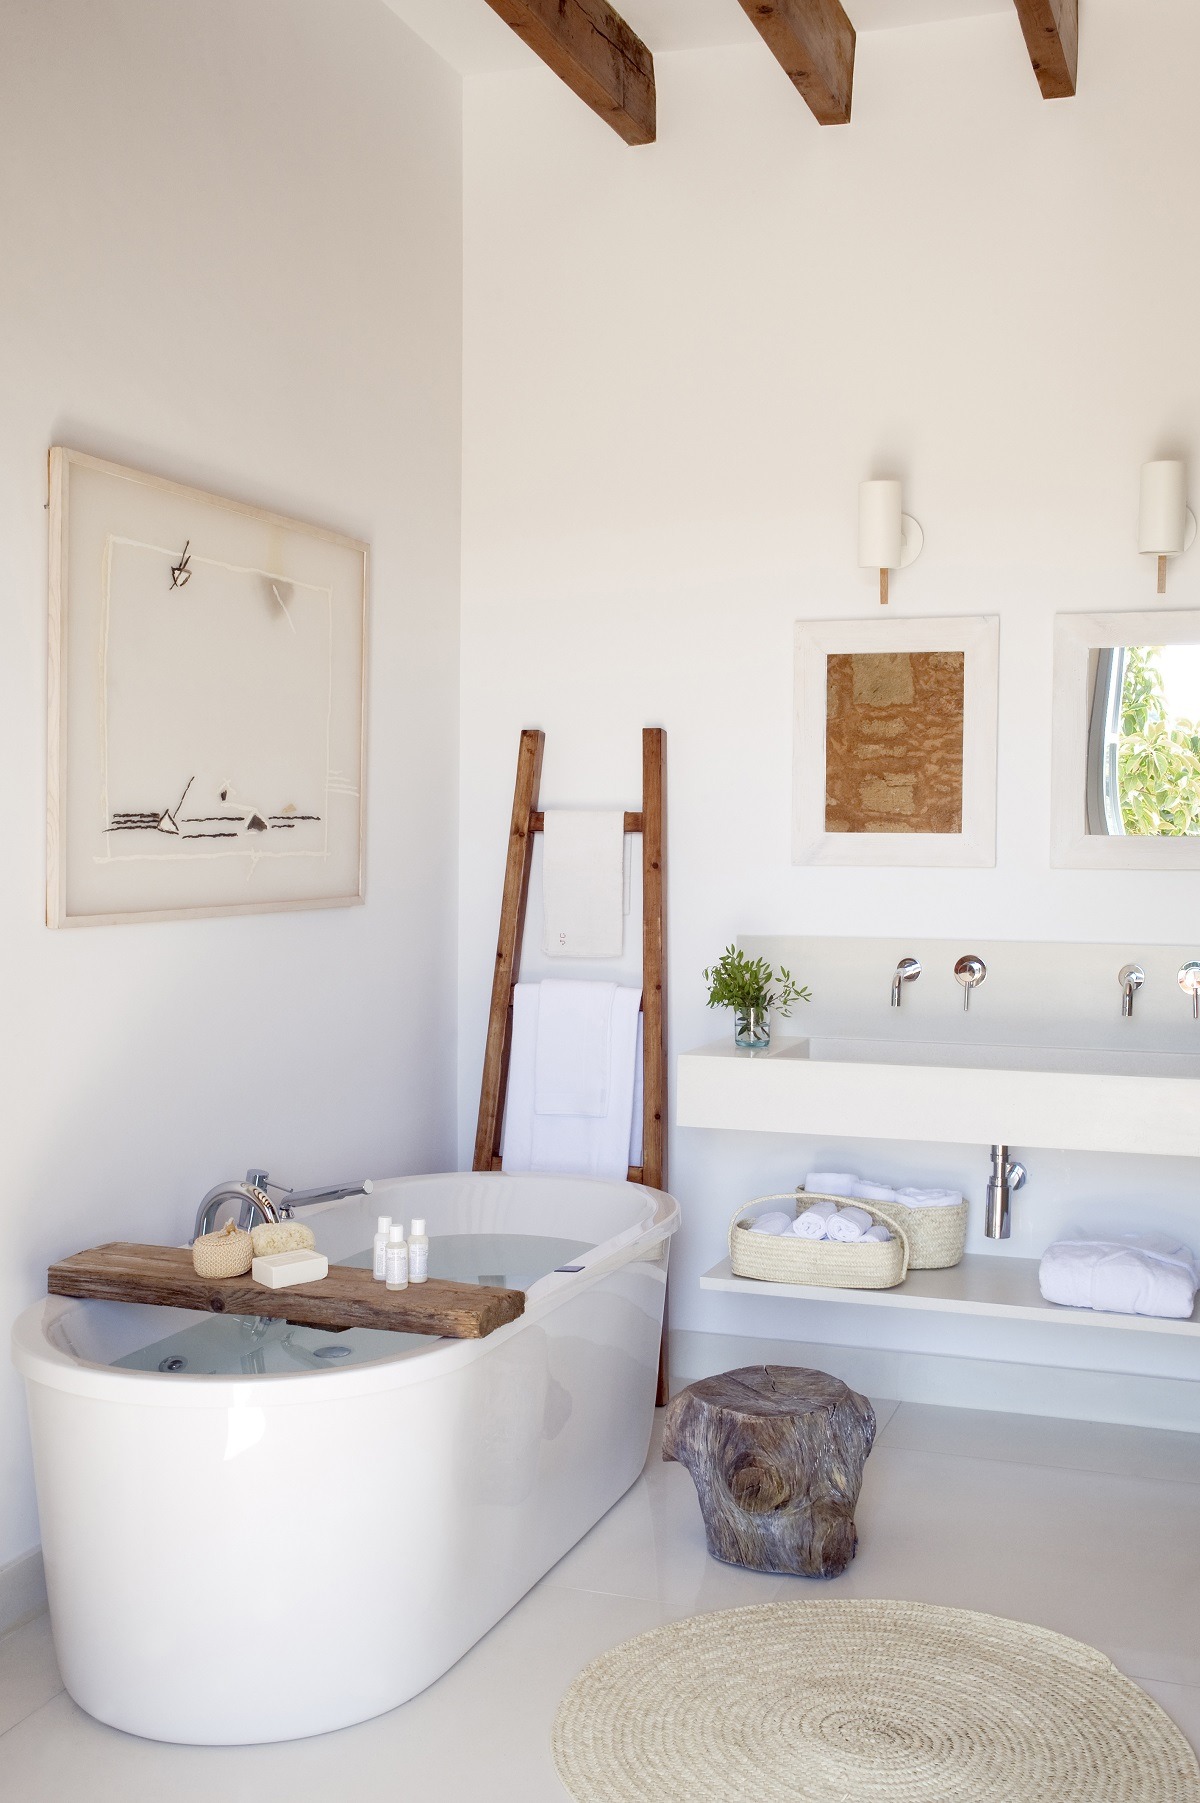
Image from luxurya ccommodations

In the bathroom , pictured above, they've used a tree-trunk to create a little stool, they've made a ladder from branches to hold towels and used a slab of wood across the bath tub to keep lotions and potions on....ingenious!! Not only is the use of wood here very practical, but it also adds a natural warmth to the whiteness of the room!Beautiful!!


I just love the organic shapes of these stools from Nordic house, and if I ever come across a fallen tree, and happen to have a chain saw on me....I will most definately try to DIY one of these....
LOL!
image from Petit and small

In all seriousness though, there are inspiration for DIY's to be had everywhere!!
How about these gorgeous and simple wooden table lamps, above? Sand back a log, hollow it out using a drill and add a cord kit and a fabulous bulb....and Bob's your uncle!!

Or these wooden coasters by anthropologie, also easily DIY'able...maybe using Plywood??
Image via An ordinary woman

As mentioned in my previous, wood-inspired post HERE, Plywood is very useful when it comes to DIY projects: It's relatively cheap and extremely versatile, but it also possesses that beautiful wood grain effect...Use it to build your own furniture, like those cute hexagonal shelfs ,below, or even just attach some on to the wall, like they've done in the picture above, for an instant and simple  statement with artistic flair!
Image from Luona shop

Raw timber is also an easy option for DIY projects:
Image via apartment therapy

How about making a fun floor-bed/play house for the Kids room!??
Image from Maria Nichols

If yo don't feel confident enough to take on any such structural DIY's, the easiest thing to do, would be to use something you already have,Or a junk shop find, like an old crate or wooden box: Turn it on its end, stick some castors on, and you have made yourself a nice little side table, like the one above!
Image from Carolyns homework

Lastly, I had to include this cute little photo holder from  Carolyns homework....with valentines coming up, this would be a perfect little make for the one you love, non??

If you'd like to see more creative ways to use wood in your interiors check out my Pinterest board wood....it's packed full of inspirational images and links to handy DIY tutorials, so that you can get creative using wood in your home!!

I will be back with a tutorial on a little wood -based project I've been working on next week, so please pop back then!!

Wednesday, 4 February 2015

Interior inspiration: Wood

Image from Marsipan og smilefjes
This week I've been exploring the use of wood in interiors!

There is something about wood that adds a certain naturalness and warmth to a room...It can transform the most minimalist and modern interiors into something more authentic and organic!
Now, most of us are not blessed with homes that boasts beautiful wooden wall paneling or even floors, like Norwegian blogger Marthe from Marsipan og smilefjes, above, or those amazing high ceiling spaces with wooden beams, below:


Image via Sheer luxe
But with wood, a little goes a long way: And just a few little touches here and there can really add depths and warmth to a room:
Image from No home without you


An old wooden stool, the legs on a table or a chair, a shelf in the corner...even display some stacked wood for the fireplace (below ) or lean some pallet wood up against a wall with a light-chain for a statement, like Finnish blogger Kaisa from No home without you, above!


Image via Home Edit
 In fact, using wood in your interior creatively really packs a punch:

Image via lushome
Why not stack some old wooden crates to make a shelf for storage, like in the image above...
Or for a truly budget friendly option: Use some wooden pallets to make a seating area, like below:


Image via vtwonen

Making furniture, or even used as flooring, plywood (below)is another great way to add some wood into your interiors....not only is it cheap, but also extremely versatile and easy to DIY with....and that blonde wood look is bang on trend at the moment!


Image viaScandinavian deco

Just painting some (ply)wood in a simple geometric pattern, like Diana from house tweaking did, below...will make a huge statement as well as adding that wooden touch to your decor!

Image from house tweaking

And do feel free to mix it up: Old with new , dark with light wood....
Kat Hertzler of maple leaves sycamore trees 's dining area via design mom

....Rustic and industrial with antique....

Image from weekday carnival


...retro with modern....
Its all good! All wood (bar that yellowing pine stuff from the 90's.... UUUGH!)is in fashion right now!!

There really is no rules...whatever appeals to you: If you love a piece of wooden furniture, it will work in whatever style of interior you choose, as it is YOU: Your taste and personality that shines through, but just that little touch of something wooden will elevate the feel of your room and add a certain "je ne sais quoi"!
Stylist: Emma Persson Lagerberg. Photographer: Petra Bindel. For Ã…hlens. Via 79 ideas and Nordic Design 

...A simple rustic bench in the bathroom will add an instant SPA feeling!
Image from The merry thought
...And an old plank of wood suspended from the ceiling, as seen on The merry thought,  will not only be a functional bedside table, but also a statement with artistic merit.

Image from The Design files
I love that earthiness that wood brings to your interiors, weather its old or new, rustic or modern...it just adds something that speaks to my heart...maybe it's my Norwegian roots??!!

And I am oh'so glad that the fad of painting everything wooden with shabby chic chalk paint is finally veining, and all those gorgeous Mid century modern pieces of furniture can breath a sigh of relief, as they are now back in fashion....veneer finish and all!

I mean , just look at the living room, pictured above, from Aussie artist Carla Fletcher and her musician partner Brett Langsford's home in Melbourne: Perfectly eclectic and bohemian, with tons of personality....and with just the right amount of wood in form of that MCM sideboard,the rustic wooden gem stool and the pale wooden frames on the artwork....perfection!!

In my next post I will show you some more ways to get creative with wood in your interiors from around the web, then next week I will show you a little DIY using a piece of wood I found in the road the other day! LOL :)

Until then, have a great week
....and if you'd like to see some more inspiring interiors using wood, check out my pinterest board wood!


Saturday, 31 January 2015

DIY tribal wall rug


After exploring the unconventional trend of  using rugs as wall art in my previous post, I am today sharing how you can make your very own tribal patterned rug!

Wether you'd like to make one for an awkward floor space, where regular rugs don't quite fit, or you'd like to make one to fill a big blank space on your wall, this is an easy and cheap way to get in on the trend!


In fact it is so easy that I've made two this week: One for my living room wall and one for the landing at the top of our stairs!

And apart from being able to visualize and create a pattern you love, there is not really any skills required!


You will need:
calico canvas/ heavy cotton material
Scissors
Iron
Sewing machine and thread
Pencil and eraser
Marker Pen (You may need more than one!!)
Ruler(Or something else long and straight) and tape measure

Anti slip mat and Spray adhesive to make a floor rug (+fabric protector)
or
Heavy duty sticky velcro to make a wall hanging

I used the same technique making both, here's how:

Cut the Canvas to the size you want, adding a couple of centimeters to the measurements either side.
Then fold and iron the edges of the fabric...


I found that the best way to insure that the canvas was straight, was to iron a fold along one side , then, measuring the width as I went when Ironing the fold on the opposite side.
Stitch the edges on a sewing machine....if you haven't got one . you can always use some hemming web to iron into the folds (just an afterthought on my behalf!! LOL)

Next up, it's time to get creative with the pattern!

Use my pinterest boards RUGS and TEXTURE FOR WALLS for inspiration.

Use a pencil to sketch up your pattern onto the canvas.

I found it helpful to draw up a grid first, marking out the center lines both lengthwise and width-wise.
Then I used my ruler and tape measure to ensure the pattern would be (at least semi-) symmetrical!
Start at the ends of the canvas and work your way towards the middle, drawing up zig-zags, dots, lines....any sort of pattern that appeals to you! 
 For that tribal look, keep it geometrical!


When you are happy with your pattern, put something underneath to protect your surfaces, then using a marker pen (You may need more that one...cheap ones will do fine!) and trace over your pattern ,filling in any larger areas as you go! 
If you'd like a really neat finish, use a ruler to make your lines straight.... I didn't as I think the small imperfections of a slightly wobbly line here and there adds to the "tribal" look!!

When you have traced over your entire pattern with marker pen(s) use a rubber to gently erase any pencil marks, the hoover up the rubber crumbs!!


If you'd like to hang your finished "canvas-rug" on the wall, get some heavy duty sticky velcro, then simply stitch it onto the top of your canvas, either by hand or with a sewing machine:


Then simply stick it onto your wall!


I love how mine turned out! It fills that big space over my bookshelves in my living room beautifully!

Turning your canvas into a floor rug:


This is so easy: Just get some anti slip rug underlay, and cut it to size:
Turn your canvas, so the back is facing up.
Then use some spray adhesive (heavy duty carpet ones are great) and apply to the Anti slip only!
Leave for a couple of minutes before positioning it onto the canvas.

Turn the canvas rug around again, and use your hands to smooth out any creases and ensure good adhesion between the canvas and the anti slip!


I would recommend that you protect the canvas with some fabric protection spray if using it as a floor rug...but you can always just peel the anti slip off and chuck the canvas in the washing machine should it get too dirty...it should hold up fine although you may find that the marker pen will fade slightly (and the canvas could shrink a little), but you can always re-trace the pattern again...
Then just iron and re-apply the anti slip!


I think half the beauty of these are the imperfections and the variations in the coverage of the marker pen! Maybe you disagree? (In which case you could always invest in some proper fabric paint for a more even finish!)


And I love how I've finally got a rug that fits that awkward space at the top of our stairs perfectly!
No more stumbling in small rugs!!
And the Anti slip makes it lay beautifully and feel soft under foot!!

It took me 1 day to make the two of them, and cost me less than £30 for both....and I still have lots of canvas and spray adhesive/fabric protector left for future projects!

Of course you can use this technique to create any sort of pattern you'd like, and you can always use other colors as well....whatever suits you! In fact, if you don't fancy drawing up your own patter you could just buy some heavy upholstery patterned fabric (like this ikat print) to make your own rug by simply adding an anti slip mat!

What do you think??


IMAGE DESCRIPTION
Please vote for me for best DIY blog


"